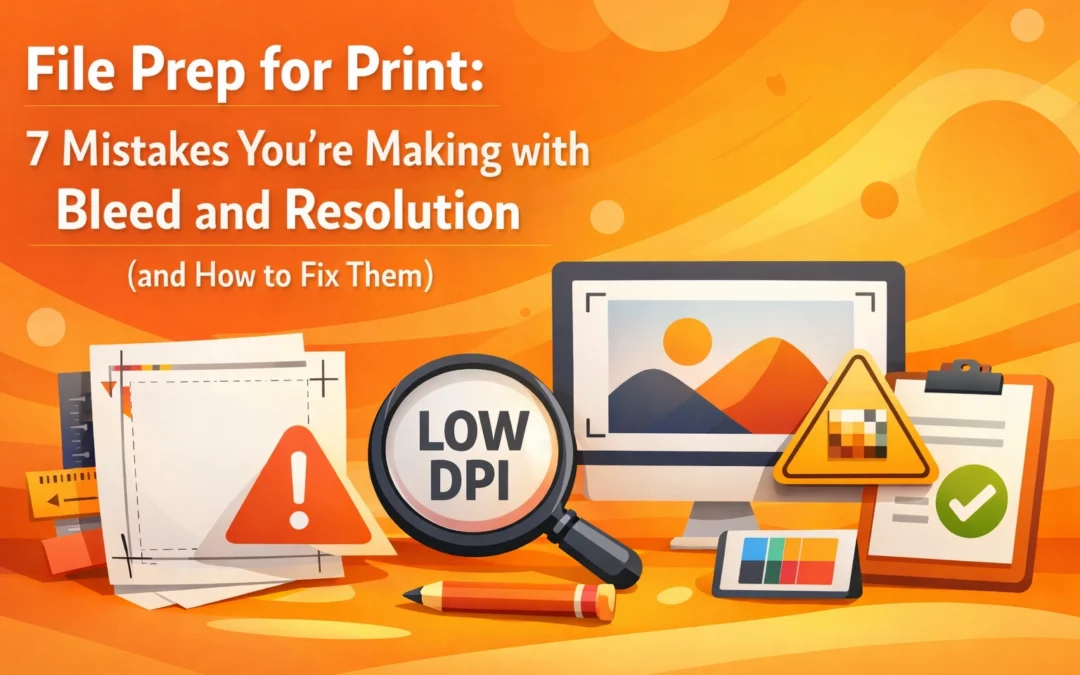
Print production failures rarely happen on press. They happen during file preparation, when designers overlook technical requirements that seem minor on screen but become catastrophic at the cutting table. Whether you're preparing files in Adobe InDesign, Illustrator, or Affinity Publisher, understanding bleed mechanics and resolution standards separates professional output from amateur results.
This guide addresses the seven most common technical errors in print file preparation and provides actionable solutions for each.
Mistake 1: Inadequate or Missing Bleed Settings
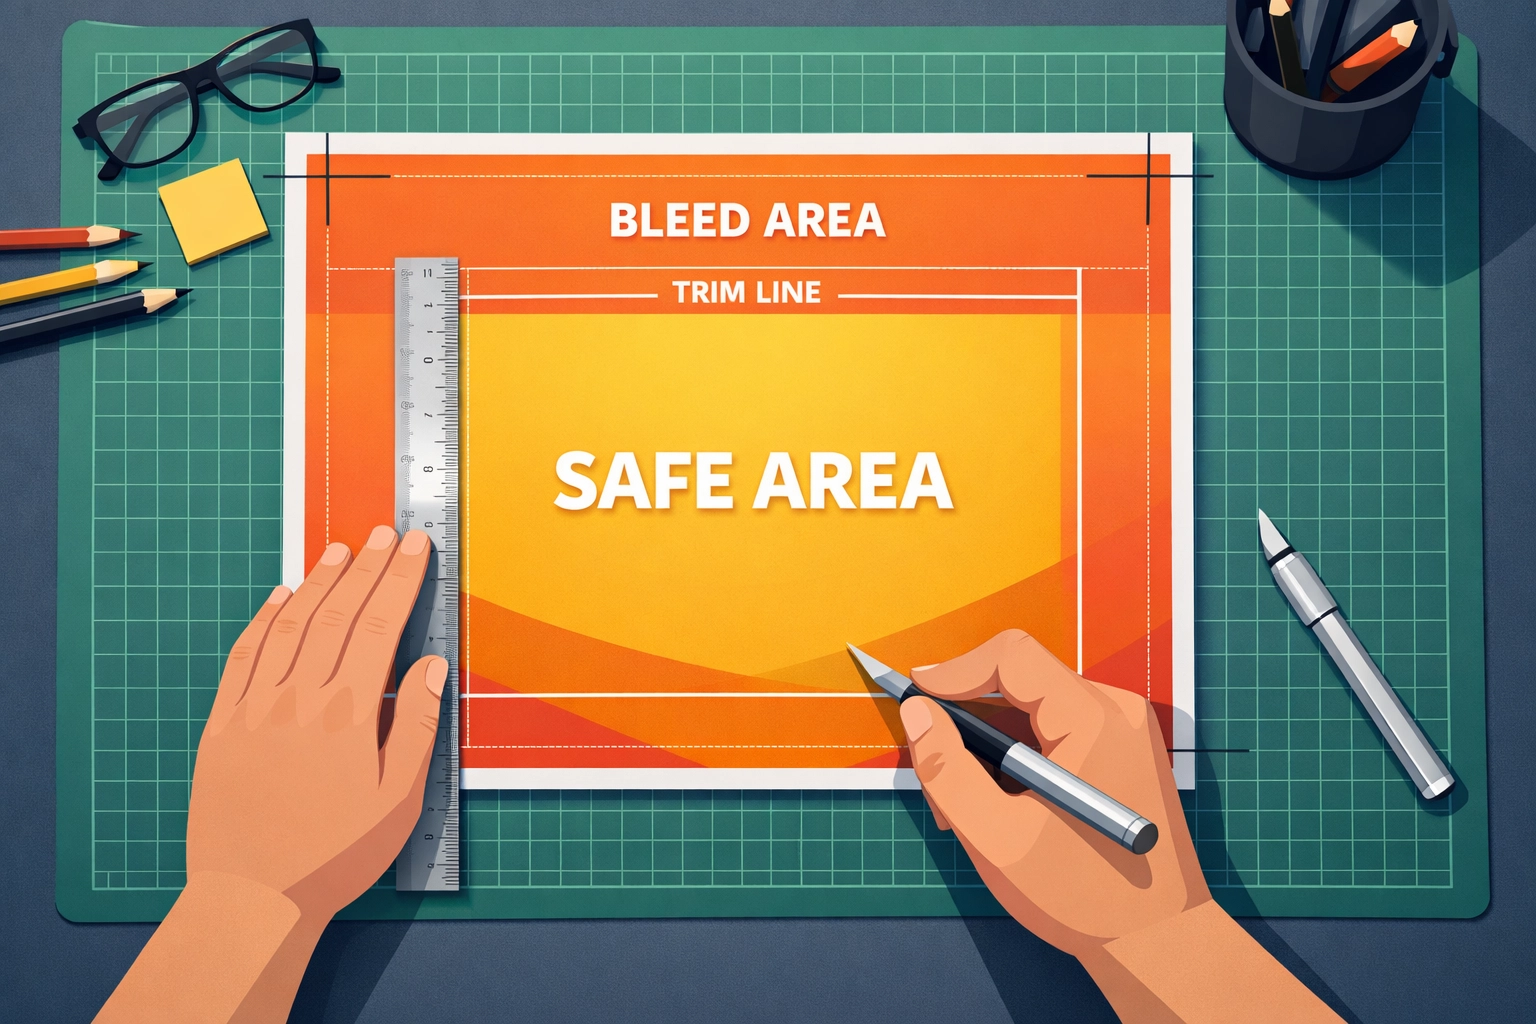
Bleed refers to the extension of design elements beyond the final trim line. Commercial printers require this safety margin because cutting equipment, while precise, experiences microscopic variations during high-speed trimming operations. Standard bleed specifications call for 0.125 inches (3.175 mm) beyond each edge of your document, though large format printing may require up to 5mm depending on finishing methods.
The consequence of insufficient bleed appears as thin white slivers along trimmed edges. When background colors or images terminate exactly at the trim line, any minor shift during cutting exposes the unprinted substrate beneath.
Technical Fix:
In Adobe InDesign, configure bleed during document creation through the "New Document" dialog. Navigate to the Bleed and Slug section and enter 0.125" for all four sides. For existing documents, access these settings through File > Document Setup.
Adobe Illustrator users should set bleed parameters in the initial artboard configuration or modify them later via File > Document Setup > Edit Artboards. Affinity Publisher follows a similar workflow through Document > Document Setup > Margins and Bleeds.
Extend all background elements, images, and color blocks at least 0.125" past the trim line. Elements that should stop at the edge (like text frames with defined margins) remain within the safe zone, at least 0.125" inside the trim.
Mistake 2: Failing to Verify Bleed in PDF Export
Design applications do not automatically apply bleed settings to exported PDFs. This represents one of the most overlooked steps in file preparation workflows. You can configure perfect bleed settings in your source document, but they remain irrelevant if the export process doesn't include them.
Technical Fix:
In InDesign's PDF export dialog (File > Export > Adobe PDF), locate the Marks and Bleeds panel. Check "Use Document Bleed Settings" and enable crop marks if required by your printer. The preview pane should display your bleed area extending beyond the crop marks.
For Illustrator exports, the PDF export dialog includes a Marks and Bleeds section where you must manually verify bleed dimensions match your document settings. Affinity Designer users access these controls through the More button in the PDF export dialog.
After export, open the PDF in Adobe Acrobat Pro (not a browser-based viewer) and zoom to 200-400%. Crop marks should appear at the trim line with visible color extending beyond them into the bleed area.
Mistake 3: Resolution Insufficient for Print Output
Digital displays render at 72-96 pixels per inch. Commercial offset and digital printing requires 300 pixels per inch at final size for photographic content and 1200 ppi for line art. This disparity creates a false sense of quality when designers evaluate images on screen.
Images sourced from websites, screenshots, or low-resolution stock libraries appear acceptable at screen resolution but degrade noticeably when rasterized at print dimensions. A 600-pixel-wide image that looks sharp in a web browser becomes a blurry 2-inch element when printed at 300 ppi.
Technical Fix:
Source all raster images at appropriate resolution before placing them in your layout. For a 4×6 inch photograph printed at 300 ppi, you need source dimensions of at least 1200×1800 pixels.
In InDesign, use the Links panel to identify problematic images. Select an image and check its Effective PPI value in the panel. Values below 250 ppi warrant replacement with higher-resolution versions.

Adobe Photoshop provides resolution adjustment through Image > Image Size, but understand that upsampling cannot restore detail absent from the original capture. Affinity Photo offers similar controls through Document > Resize Document, with various resampling algorithms. Neither process creates authentic detail. Start with appropriately sized source material.
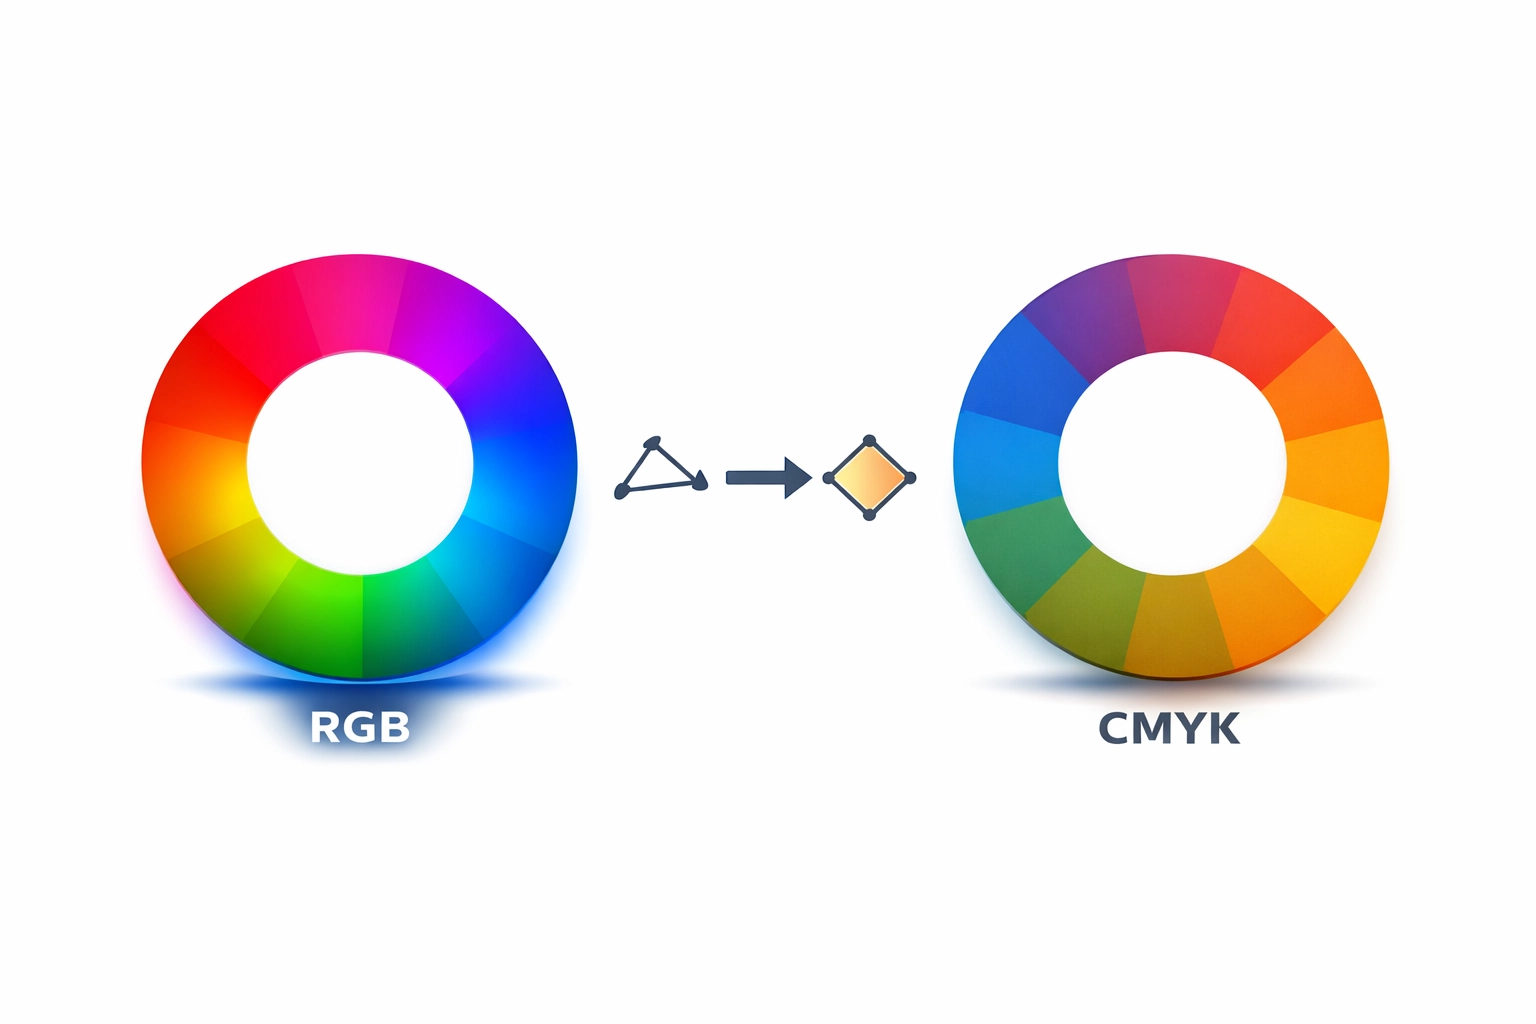
Mistake 4: RGB Color Mode in Print Documents
The RGB (Red, Green, Blue) color model defines color through emitted light, matching how monitors and mobile screens function. Commercial printing uses reflected light through CMYK (Cyan, Magenta, Yellow, Black) inks on paper substrates. These different color gamuts produce dramatically different results.
RGB files sent to print undergo automatic conversion to CMYK by the RIP (Raster Image Processor). This conversion follows generic profiles that may not match your design intent. Vibrant RGB blues shift toward purple, bright greens become muddy, and saturated reds lose intensity.
Technical Fix:
Configure CMYK as your default color mode before starting any print project. In InDesign, new documents default to CMYK when the Intent is set to Print. Illustrator requires manual selection of CMYK in the New Document dialog under Advanced Options.
For existing RGB documents, convert through Edit > Convert to Profile. Select a destination CMYK profile that matches your printer's specifications. Common options include SWOP (Specifications for Web Offset Publications) for North American printing or Fogra39 for European production.
Photoshop users should convert RGB images individually through Image > Mode > CMYK Color before placing them in layouts. This allows you to evaluate and adjust color shifts before final composition.
Mistake 5: Improper Black Ink Configuration
Black exists in two forms within CMYK printing. Registration black (or rich black) combines 100% black with percentages of cyan, magenta, and yellow to produce deeper, more saturated dark tones. Single-color black uses only the black plate at 100%.
Text smaller than 18 points should use single-color black (C:0 M:0 Y:0 K:100) to prevent registration issues where slight misalignment between color plates creates blurry, rainbow-edged letterforms. Large background areas benefit from rich black formulas like C:60 M:40 Y:40 K:100 for enhanced density.
Technical Fix:
In InDesign and Illustrator, create black swatches with specific CMYK values rather than relying on the default black swatch, which may vary. Name them distinctly (e.g., "Text Black" and "Background Black") to prevent confusion.
Check your document for inappropriate black usage through InDesign's Separations Preview panel (Window > Output > Separations Preview). This displays individual color plates, revealing where black appears across multiple plates when it shouldn't.
Mistake 6: Font Management Failures
Printers cannot output text in fonts they don't have access to. Missing fonts trigger automatic substitution with system defaults, destroying your typography. Text that isn't outlined remains editable, which sounds beneficial until those fonts go missing at the service bureau.
Technical Fix:
Two solutions exist: embed fonts in your PDF or convert text to outlines. PDF embedding occurs during export when you select "Subset" or "Embed" in the PDF export options. This includes only the characters used in your document, reducing file size while maintaining editability.
Converting to outlines (Type > Create Outlines in Illustrator, or export settings in InDesign) transforms text into vector shapes. This prevents font issues entirely but eliminates editing capability. Reserve outlining for final production files, not working documents.
Package your source files properly through File > Package in InDesign, which collects all linked files, fonts, and generates a report of potential issues. This gives printers everything needed for last-minute corrections.
Mistake 7: Exporting in Lossy File Formats
JPEG compression degrades image quality with each save operation through a lossy algorithm that discards data. PowerPoint, Excel, and similar presentation software lack proper bleed controls and color management, making them unsuitable for commercial printing despite their ubiquity in business environments.
Technical Fix:
Export print-ready files as PDF/X-1a or PDF/X-4 standards, which enforce CMYK color, embed fonts, and prevent transparency flattening issues. These PDF variants represent industry standards specifically developed for reliable print reproduction.
For raster images supplied separately, use TIFF format with LZW compression (lossless) rather than JPEG. TIFF preserves all image data while reducing file size through mathematical compression rather than visual approximation.
When clients provide files in inappropriate formats, request source documents with all assets and fonts, then rebuild the layout in proper design software. This takes longer than quick fixes but eliminates production failures.
Quality Control Workflow
Open your final PDF in Adobe Acrobat Pro and inspect at 300-400% magnification. Check critical areas: text edges should appear sharp, images should show no pixelation, bleed should extend uniformly beyond crop marks, and colors should appear consistent throughout.
Use Acrobat's Output Preview (Tools > Print Production > Output Preview) to simulate how your file will separate into color plates. This reveals transparency flattening issues, spot color problems, and overprint settings that may not display correctly in standard preview mode.
Professional print preparation requires technical precision that goes beyond visual design. These seven mistakes account for the majority of production delays and reprints in commercial printing. Master them systematically, and your files will run cleanly through any professional printing operation.
Works Cited
Adobe Systems Incorporated. "Setting Up Documents for Print." Adobe InDesign User Guide, 2024.
Hinderliter, Hal. "Print Production Fundamentals." Graphic Communications Textbook, Goodheart-Willcox, 2022.
International Color Consortium. "ICC Profile Specifications." ICC.1:2022, 2022.
Romano, Frank J. "Digital Printing Technology." Pocket Guide to Digital Printing, 3rd ed., GATFPress, 2021.
Specifications for Web Offset Publications. "SWOP 2022 Certification Standards." IDEAlliance, 2022.
Recent Comments