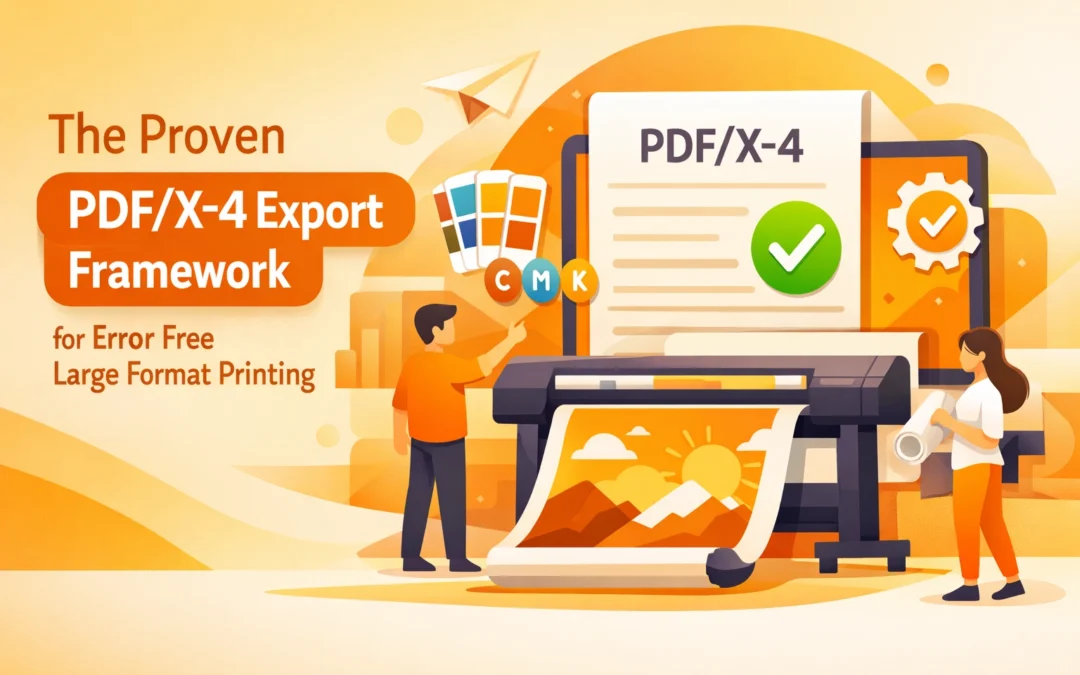
Large format printing demands a level of precision that standard digital or small format print jobs rarely require. When a graphic is scaled to cover a vehicle or a storefront, minor technical oversights transform into glaring, expensive errors. The transition from legacy formats to modern standards has introduced the PDF/X-4 framework as the definitive solution for high fidelity output. This standard, formally known as ISO 15930-7, provides the technical bridge between complex design software and the Raster Image Processors (RIP) that drive wide format printers.
At Creative Design Hub (84G), we emphasize that the PDF/X-4 format is not merely a file extension but a set of rigorous constraints designed to eliminate variables during production. By adopting this framework, designers ensure that transparency, layers, and color profiles remain intact until the final rendering stage. This approach minimizes the risk of artifacts, color shifts, and font substitution errors that frequently plague older workflows like PDF/X-1a.
The Shift from PDF/X-1a to PDF/X-4
For decades, PDF/X-1a was the industry gold standard. It functioned by flattening all transparency and converting all colors to CMYK before the file ever left the designer's computer. While this offered predictability, it also introduced "stitching" lines where transparency was flattened. Modern large format printers, such as those used in our portfolio projects, utilize sophisticated ink sets including light cyan, light magenta, white, and even orange or green.
Flattening a file to a standard four color CMYK profile before export limits the printer's ability to utilize its full color gamut. PDF/X-4 allows for live transparency. This means the RIP software handles the flattening process with much higher mathematical precision than a local workstation. Furthermore, PDF/X-4 supports color management through ICC profiles, allowing the designer to keep images in their native color space while the RIP handles the conversion to the specific substrate and ink combination.

Establishing the Document Foundation
Before the export process begins, the document setup must be flawless. Large format files are often built at a scale, such as 1:10, because of software canvas limitations. However, modern versions of Adobe Illustrator and InDesign have expanded their maximum canvas sizes. It is always preferable to work at 100 percent scale when possible to avoid confusion during the prepress stage.
Resolution requirements differ significantly from standard commercial printing. While 300 pixels per inch (PPI) is the benchmark for a handheld brochure, a billboard may only require 30 to 50 PPI. For most large format wall graphics or banners, 100 to 150 PPI at full size is the optimal balance between file performance and visual clarity. Setting the document bleed is equally critical. For large format, a standard 0.125 inch bleed is often insufficient. Depending on the finishing requirements, such as pole pockets or edge wrapping, a bleed of 0.5 inches or more might be necessary. You should consult our FAQ page for specific finishing specifications before finalizing your layout.
The Step by Step PDF/X-4 Export Framework
The following framework is optimized for Adobe InDesign and Adobe Illustrator, the primary tools utilized within the Creative Design Hub (84G) ecosystem.
1. General Settings and Compatibility
Initiate the export by selecting Adobe PDF (Print). Within the preset dropdown menu, choose PDF/X-4:2008. Ensure the compatibility is set to Acrobat 7 (PDF 1.6) or higher. This level of compatibility is required to support the live transparency features that define the X-4 standard. If you are exporting a multi-page document for a project like a bound manual or a series of banners, ensure that "Pages" is selected rather than "Spreads." Spreads can interfere with the imposition software used by the print technician.
2. Compression Protocols
For large format work, avoid over-compressing images. Set color and grayscale images to "Bicubic Downsampling to" 150 pixels per inch for images above 225 pixels per inch. Use "ZIP" compression instead of "JPEG" whenever possible to maintain a lossless quality. While JPEG compression reduces file size, it introduces noise around high contrast edges, which becomes highly visible when scaled to large dimensions.

3. Marks and Bleed Configuration
Navigate to the Marks and Bleeds tab. Check "Crop Marks" and "Page Information." Do not include "Bleed Marks" or "Color Bars" unless specifically requested, as these can sometimes fall within the printable area of a large format sheet. The most important step here is checking "Use Document Bleed Settings." If the document was not set up with bleeds initially, manually enter the required values here. A PDF without bleed is essentially unprintable for any job requiring a full bleed finish.
4. Output and Color Conversion
This is where the PDF/X-4 framework diverges from older methods. Under the "Output" tab, set "Color Conversion" to "No Color Conversion." This preserves the native color profiles of your images and vectors. For the "Output Intent Profile Name," select a standard profile such as GRACoL 2006 or Coated FOGRA39. This does not convert the colors but provides a reference point for the RIP software. By maintaining the native profiles, the printer can use its proprietary ICC profiles to achieve the most vibrant colors possible on the specific media being used.
Managing Transparency and Layers
The primary benefit of PDF/X-4 is its handling of transparency. When using effects like drop shadows, glows, or low opacity overlays, older formats would create "tiles" or "boxes" around these elements. PDF/X-4 treats these as live layers.
When the file reaches a modern RIP like Onyx, Caldera, or Fiery, the software calculates the transparency at the native resolution of the printer. This results in smooth gradients and clean edges. If you are incorporating specialized elements like white ink layers or "CutContour" paths for vinyl plotters, these must be set as spot colors and set to "Overprint" in the Attributes panel. The PDF/X-4 format preserves these spot color channels perfectly, allowing the printer to identify exactly where the white ink or the blade should be applied.
Technical Verification and Preflight
Before submitting any file through our checkout system, a final preflight check is mandatory. Open the exported PDF in Adobe Acrobat Pro and use the "Print Production" toolset. The "Preflight" tool has a specific profile for "PDF/X-4 readiness." Running this check will identify any hidden issues, such as RGB text, low resolution images, or non-embedded fonts.
Font embedding is a frequent point of failure. Although PDF/X-4 technically requires font embedding, certain licensing restrictions can prevent this. If the preflight tool flags a font issue, the safest course of action is to convert all text to outlines in the source file before re-exporting. This ensures that the typography remains identical to the design regardless of the fonts installed on the print server.
Why This Matters for Production Efficiency
Efficiency in print production is driven by the reduction of "touches" on a file. Every time a prepress technician has to open a designer's file to fix a bleed issue or flatten a transparency, the risk of human error increases. By providing a file that follows the PDF/X-4 framework, you are essentially providing a "press ready" asset that can move directly from the Creative Design Hub (84G) website to the print queue.
This technical discipline results in faster turnaround times and a significant reduction in material waste. For clients looking to understand the scope of work involved in professional file preparation, our projects page showcases the complexity of the environments where these files are deployed.
Summary Checklist for PDF/X-4 Export
To ensure your large format files are processed without error, adhere to this condensed checklist:
- Confirm the document scale and ensure the bleed is at least 0.125 to 0.5 inches.
- Verify that all images meet the minimum PPI requirements for the intended viewing distance.
- Use the PDF/X-4:2008 preset in Adobe CC.
- Keep transparency live by ensuring Acrobat 7 (PDF 1.6) compatibility.
- Set Color Conversion to "No Color Conversion" to preserve ICC profiles.
- Verify that spot colors for white ink or cut lines are correctly named and set to overprint.
- Run a final Preflight check in Adobe Acrobat Pro to confirm ISO compliance.
By following this technical framework, designers can bridge the gap between creative intent and physical reality. The PDF/X-4 standard is the most reliable method for ensuring that what you see on your calibrated monitor is exactly what appears on the final printed substrate.
Works Cited
Adobe Systems. "PDF/X: A Standard for the Exchange of Print-Ready Documents." Adobe Creative Cloud Workflow Guide, 2023.
International Organization for Standardization. "ISO 15930-7:2010 Graphic technology : Prepress digital data exchange : Part 7: Complete exchange of printing data (PDF/X-4)." ISO, 2010.
Onyx Graphics. "Optimizing PDF Files for Wide Format Printing." Onyx TV Workflow Series, 2024.
Printing United Alliance. "Understanding PDF Standards for the Modern Print Shop." Journal of Print World, 2022.
X-Rite Pantone. "Color Management in the PDF/X-4 Workflow." X-Rite Technical Briefs, 2025.
Recent Comments