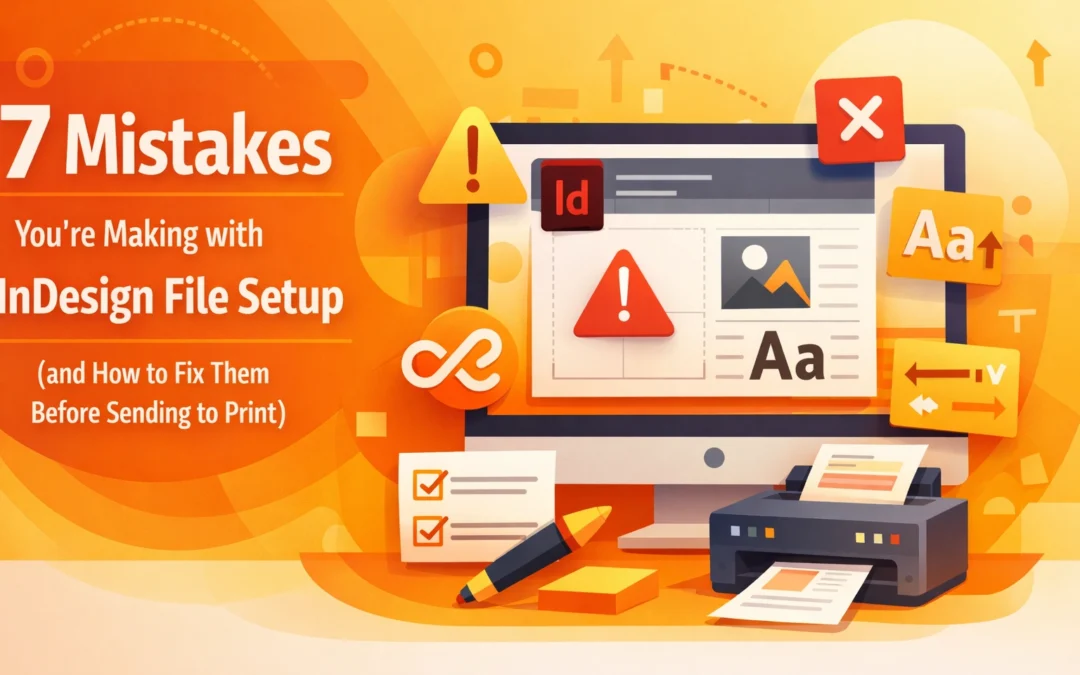
Print production fails are expensive. A single oversight in your InDesign file setup can cost you time, money, and client relationships. After reviewing thousands of print-ready files, certain mistakes appear repeatedly, even among experienced designers. This guide identifies the seven most common InDesign setup errors and provides actionable solutions to prevent them.
1. Using the Wrong Software for Print Production
PowerPoint and Excel weren't built for commercial printing. These programs lack critical features like bleed setup, spot color management, and proper font embedding. Yet designers still attempt to repurpose presentation decks and spreadsheets for print collateral.
InDesign includes packaging features specifically designed for print workflows. The application bundles graphics, fonts, and linked files into a single delivery package. If your workflow absolutely requires starting in presentation software, export both the native file with all assets and a high-resolution PDF. Better yet, rebuild the layout in InDesign from the start. The time investment pays off in print quality and fewer production delays.
2. Ignoring Bleed Requirements
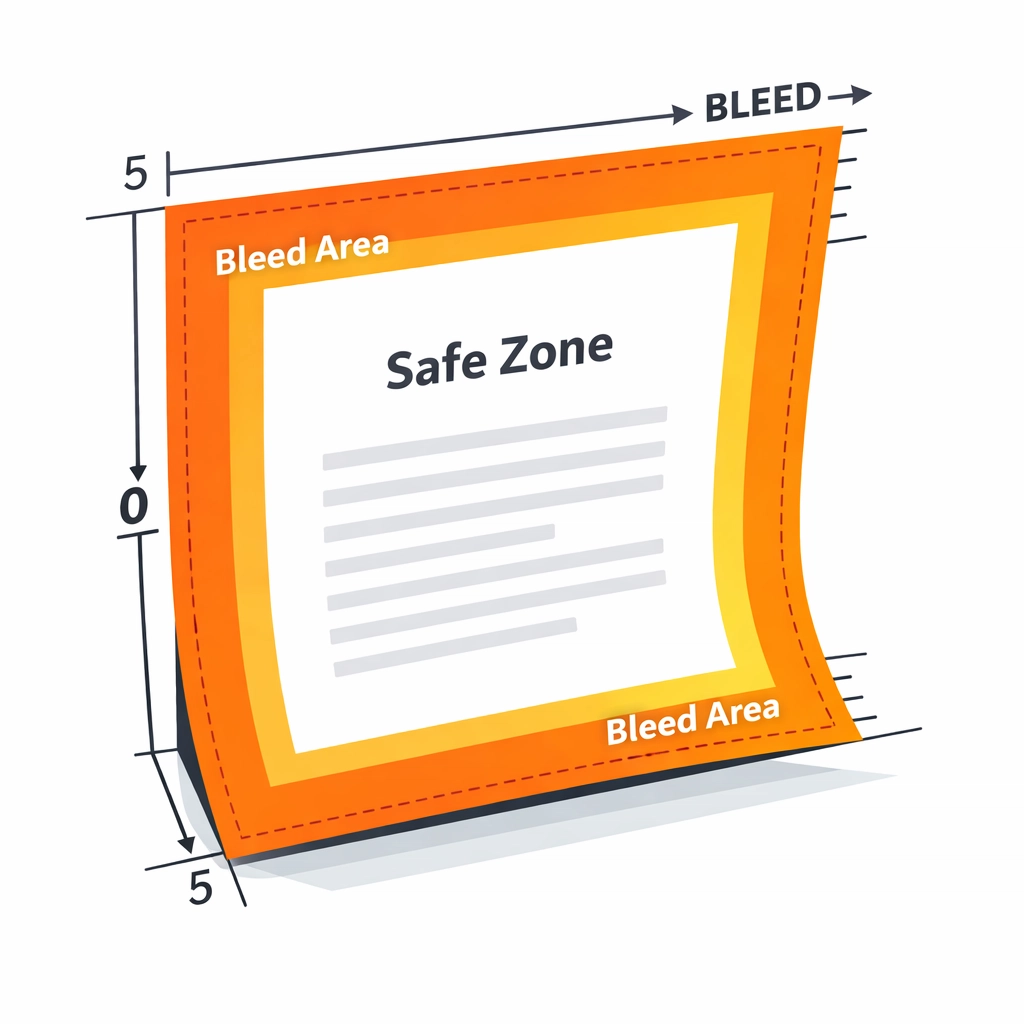
Cutting machines don't operate with pixel-perfect precision. Commercial printing requires bleed, the extra image area that extends beyond the final trim size. Without proper bleed setup, you risk white edges appearing on your finished piece when the cutter's variance lands inside your design boundary.
Standard bleed measures 0.125 inches (1/8 inch) on all sides, though some print houses require 0.25 inches. Set up your bleed before you start designing. In InDesign, access bleed settings through File > Document Setup. Enter your bleed values in the Bleed and Slug section. Extend all background colors, images, and design elements to the bleed edge. Keep critical content like text and logos at least 0.125 inches inside the trim line. This safety margin, called the safe zone, protects important elements from being cut off during trimming.
3. Delivering Files That Aren't Print-Ready
Sending your native InDesign file without properly packaged assets creates production bottlenecks. Printers receive files with missing fonts, broken image links, and RGB color spaces daily. Each issue requires back-and-forth communication that delays your job.
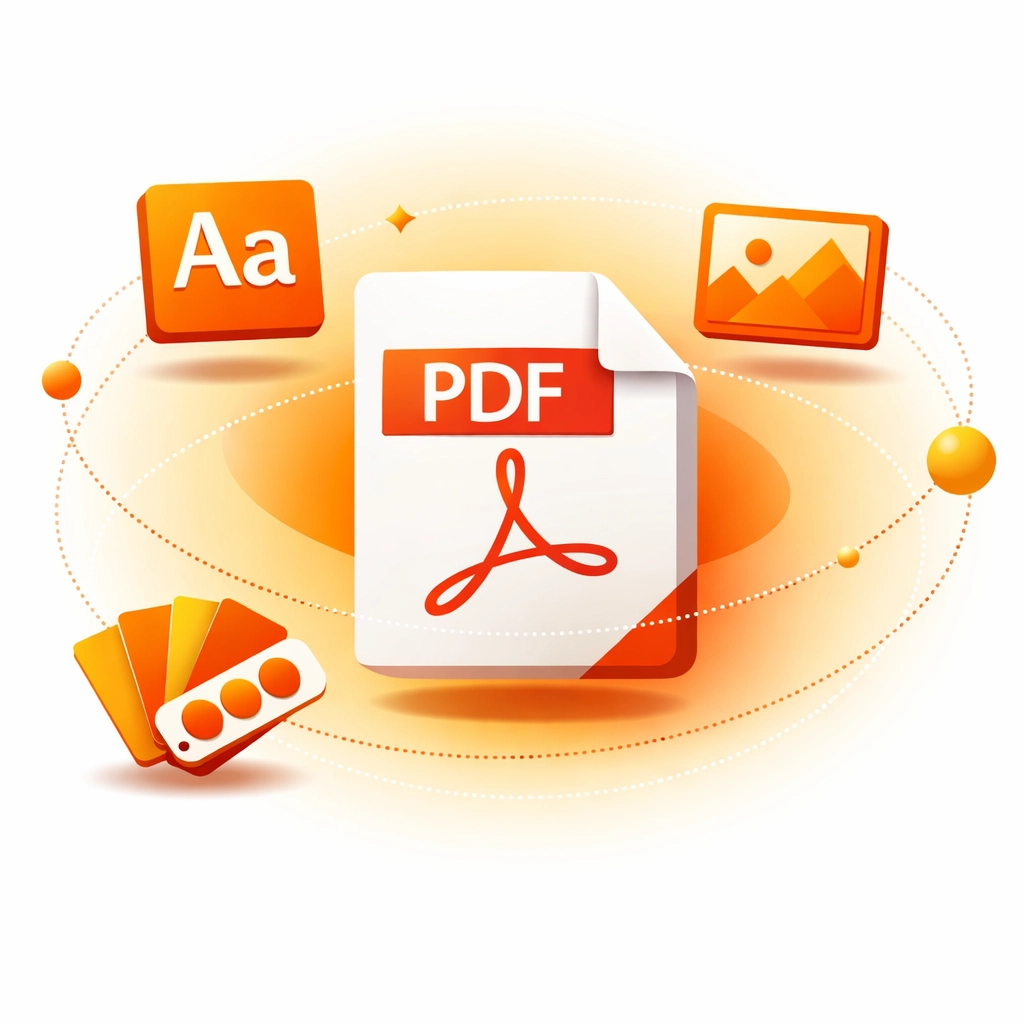
Package your InDesign file properly using File > Package. This command collects all fonts, linked images, and a report file into a single folder. However, most commercial printers prefer PDF delivery. Export a print-ready PDF through File > Export > Adobe PDF (Print). Select the PDF/X-1a:2001 or PDF/X-4 preset, depending on your printer's requirements. These standards embed fonts, flatten transparency, and convert colors appropriately. Always verify your PDF settings include crop marks, bleed, and proper resolution before export.
4. Using Low-Resolution Images
Screen-resolution images appear crisp on monitors at 72 DPI but print as pixelated disasters. Professional printing requires 300 DPI at final output size. Scaling up a low-resolution image in InDesign doesn't add detail; it just makes the pixels larger.
Check image resolution through the Links panel (Window > Links). Select an image and view its Effective PPI in the Link Info section. Images scaled beyond 100% reduce their effective resolution proportionally. A 300 DPI image scaled to 200% drops to 150 DPI effective resolution. Source your images at appropriate resolution from the start. If you must work with existing images, use Photoshop to resample them to 300 DPI at final dimensions before placing them in InDesign. Never rely on InDesign's image scaling to compensate for inadequate source resolution.
5. Skipping the Preflight Check
InDesign's Preflight panel catches problems before they reach production. This automated checking system identifies missing fonts, low-resolution images, RGB colors, and numerous other print-related issues. Yet many designers skip this step entirely or dismiss warnings without understanding their implications.
Activate Preflight through Window > Output > Preflight. The panel displays errors and warnings in real-time as you work. Red indicators signal critical errors that will cause print problems. Yellow warnings highlight potential issues that may or may not affect output depending on your specific job. Review each item before export. Missing fonts must be embedded or substituted. RGB images need conversion to CMYK. Overset text requires adjustment. Address these issues in your working file rather than expecting your printer to fix them. Create custom preflight profiles that match your print vendor's specifications for even more targeted error checking.
6. Neglecting Printer Driver Updates
Outdated printer drivers cause inconsistent output, color shifts, and mysterious printing failures. PostScript printers rely on PostScript Printer Description (PPD) files that define the device's capabilities and features. Using an old or generic PPD limits your access to printer-specific settings and can produce unexpected results.
Download the latest printer driver directly from the manufacturer's website. Match the driver version to your specific printer model and operating system. For PostScript printers, install the corresponding PPD file. These updates often include bug fixes, improved color management, and support for new features. Update your drivers quarterly, or immediately when experiencing print quality issues. Document your driver versions in your production notes to maintain consistency across workstations.
7. Overlooking Printer and Document Settings
Selecting the wrong printer in your print dialog seems obvious, but this mistake happens frequently in offices with multiple devices. More subtle problems arise from mismatches between document size and printer capabilities, or incorrect paper size settings that cause cropping or scaling.
Verify the correct printer selection before clicking Print. Check that your document dimensions match the paper size your printer supports. Set paper size through InDesign's print dialog (File > Print > Setup) rather than the printer's own dialog box. This approach ensures InDesign sends properly formatted data to the output device. Review your page positioning settings. "Centered" positioning works for most jobs, but specific applications may require different positioning. Check your printer marks and bleed settings in the Marks and Bleed section to ensure they match your job requirements.
Maintain adequate free disk space during printing. InDesign creates temporary files during output that can consume significant storage. Adobe recommends free space equivalent to three to five times your file size. Monitor your disk space, particularly when printing large or complex documents. Keep your InDesign application updated with the latest patches and versions. Adobe regularly releases updates that fix printing bugs and improve compatibility with modern operating systems and printer drivers.
Preventing Problems Before They Start
Print production quality begins with proper file setup. These seven mistakes account for the majority of printing problems designers encounter. Master these fundamentals, and you'll avoid costly reprints, missed deadlines, and frustrated clients. Invest time in correct setup procedures rather than rushing to output. Your printer will thank you, and your finished pieces will reflect the quality your designs deserve.
Works Cited
Adobe Inc. "Adobe InDesign User Guide: Print Documents." Adobe Help Center, 2024.
Adobe Inc. "Troubleshoot Printing Issues in InDesign." Adobe Support, 2024.
PrintingForLess. "Common File Setup Mistakes and How to Avoid Them." Professional Printing Resources, 2023.
Shutterstock. "The Complete Guide to Preparing Print Files." Shutterstock Tutorials, 2024.
Williams, Jennifer. "Professional Preflight: Quality Control for Print Production." Print Production Magazine, vol. 28, no. 4, 2023, pp. 45-52.
Recent Comments