Print production demands precision. The vector file that works perfectly for Direct-to-Garment (DTG) printing might fail spectacularly when sent to a sublimation printer. Each print method has distinct technical requirements, and understanding these differences prevents costly reprints and client disappointment.
This guide breaks down the specific file preparation requirements for DTG, DTF, and sublimation printing. You will learn which color modes to use, how to structure your vectors, and what settings ensure optimal output for each technology.
Understanding the Three Print Technologies
Direct-to-Garment printing sprays water-based inks directly onto fabric surfaces. The technology works similarly to desktop inkjet printers but handles textiles instead of paper. DTG excels at photorealistic images and complex color gradients on cotton and cotton-blend garments.
Direct-to-Film printing uses a different approach. Designs print onto a special film, then transfer to fabric using heat and pressure. This method offers broader fabric compatibility and produces vibrant colors on both light and dark materials. DTF has gained significant market share since 2020 due to its versatility and lower equipment costs compared to traditional screen printing setups.
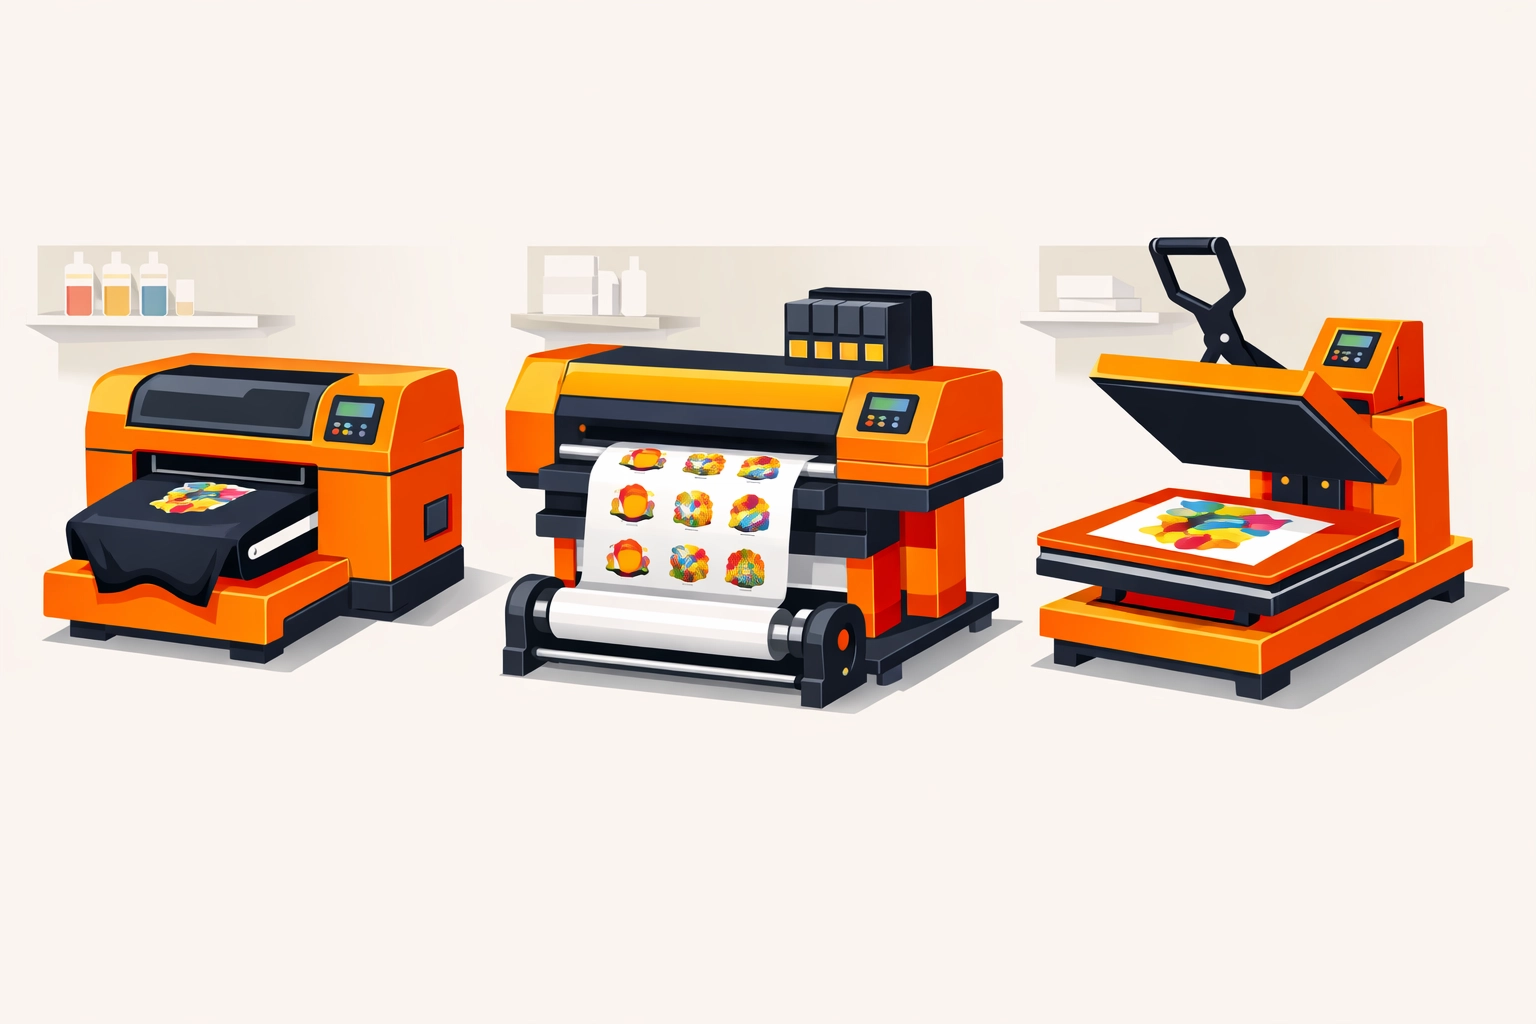
Sublimation printing transforms solid dye particles into gas without passing through a liquid state. The gaseous dye bonds with polyester fibers at the molecular level, creating permanent, vibrant prints that will not crack or peel. This method only works on polyester fabrics or polymer-coated substrates, which limits its applications but delivers unmatched durability for suitable materials.
Software Selection and File Format Standards
Adobe Illustrator remains the industry standard for vector file preparation across all three print methods. The software provides precise control over color management, path editing, and output settings. CorelDRAW serves as a capable alternative, particularly in shops that have used it for years. Affinity Designer has emerged as a cost-effective option with robust vector tools and proper color profile support.
Save your working files as native formats (.ai for Illustrator, .cdr for CorelDRAW, .afdesign for Affinity). When sending files to production, export as PDF or EPS. PDF files preserve transparency, embedded fonts, and color profiles more reliably than legacy formats. Always embed fonts or convert text to outlines before export to prevent font substitution issues.
Color Mode Configuration by Print Method
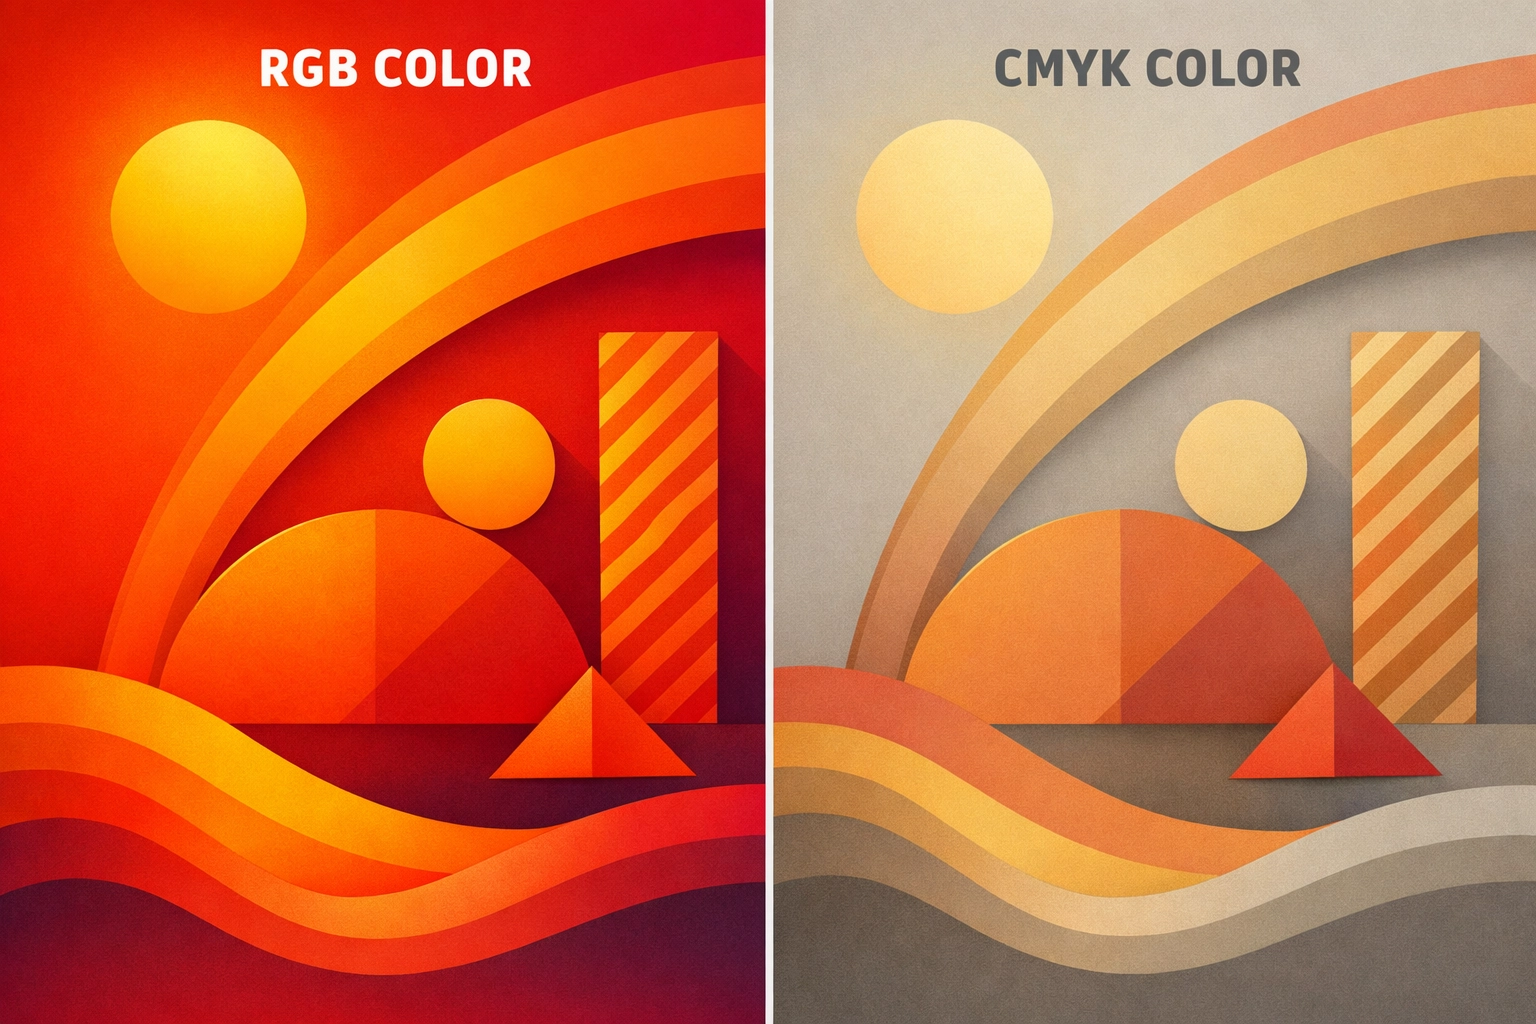
DTG printing requires RGB color mode. The print heads use CMYK inks, but the RIP (Raster Image Processor) software handles color conversion. Working in RGB preserves the full color gamut and prevents double conversion, which degrades color accuracy. Set your document color space to Adobe RGB (1998) for maximum color range. Some RIP software accepts custom ICC profiles for specific fabric types and pretreatment conditions.
DTF printing also operates in RGB mode. The process uses CMYK plus white ink, and some systems add light cyan and light magenta for extended gamut. Configure your color settings to match your specific DTF printer's profile. Most manufacturers provide ICC profiles that account for the film and powder adhesive combination their system uses.

Sublimation printing demands careful color management. Work in RGB mode but understand that sublimation inks have a unique color gamut that differs significantly from standard CMYK. Reds and oranges often appear more vibrant, while certain blues and purples can shift unexpectedly. Request sublimation-specific ICC profiles from your ink supplier. Install these profiles in your operating system and select them in your design software's color settings. Soft proofing becomes essential for accurate color prediction.
Resolution and Artboard Setup Requirements
Vector files scale infinitely, but embedded raster elements do not. When your design includes photographs or raster effects, maintain a minimum resolution of 300 DPI at the final print size. DTG printing can reveal pixelation in raster elements at standard viewing distances, so err on the side of higher resolution for photographic content.
Set your artboard dimensions to match your final print size. A 12×16 inch design should use a 12×16 inch artboard. This practice prevents scaling confusion and ensures accurate size representation in RIP software. Add a small bleed area (0.125 to 0.25 inches) for designs that extend to garment edges, though most apparel printing does not require bleeds like paper printing does.
Create separate artboards for multiple colorways or size variations within a single document. This organizational approach keeps related designs together while maintaining clear separation for production workflow. Name your artboards descriptively (Front_Large, Back_Small, Sleeve_Left) to eliminate confusion during the printing process.
DTG-Specific Preparation Steps
DTG printing on dark garments requires white underbase layers. Create a separate white layer beneath your full-color design. This white ink layer provides opacity and color vibrancy on dark fabrics. Some RIP software generates white layers automatically, but manual creation gives you more control over coverage areas and density.
Avoid thin lines and small text on dark garments. The white underbase can spread slightly during curing, causing fine details to blur. Keep line weights above 1 point and text sizes above 10 points for optimal reproduction. Test prints reveal the practical limits of your specific DTG equipment.
Reduce the number of spot colors and gradients when possible. DTG printers excel at blending colors, but complex vector effects with multiple transparency modes can cause RIP software to process files slowly or render incorrectly. Flatten transparency before export if you encounter processing issues, but keep an unflattened master file for future edits.
DTF-Specific Preparation Steps
DTF printing handles white ink differently than DTG. The white layer prints first onto the film, followed by color inks, then the adhesive powder. Design your white layer to extend slightly beyond color boundaries (trap or choke by 0.5 to 1 point) to prevent white halos around edges after transfer.
Gang multiple designs on a single film sheet to maximize material efficiency. Leave at least 0.5 inches between designs for cutting. Most DTF RIP software includes nesting tools that automatically arrange multiple designs for optimal material usage. Take advantage of these features to reduce per-unit costs.
DTF transfers work on nearly any fabric type, but designs intended for performance fabrics or textured materials may need adjustment. Avoid extremely thin lines on technical fabrics like mesh or moisture-wicking polyester. The adhesive powder may not bond adequately in very thin areas, causing premature peeling.
Sublimation-Specific Preparation Steps
Sublimation requires designs to print in mirror image. The transfer process flips the design during heat application. Most sublimation RIP software handles mirroring automatically, but verify this setting before production runs. Printing a design in the wrong orientation wastes materials and time.
Extend designs beyond the final trim size when sublimating hard goods like phone cases or mugs. Sublimation requires complete coverage to prevent white edges. Add 0.25 to 0.5 inches beyond all edges, depending on the substrate's three-dimensional shape and your heat press capabilities.
Consider that sublimation only affects polyester fibers. Designs on poly-cotton blends will appear faded or vintage due to untreated cotton fibers appearing white. This characteristic can be a design feature rather than a limitation. Plan color intensity accordingly when working with fabric blends.
File Naming and Version Control
Implement a consistent file naming system that includes the client name, design identifier, print method, and version number. A filename like "ClientName_LogoShirt_DTG_v03.pdf" immediately communicates essential information. This practice prevents sending DTG files to sublimation production or vice versa.
Maintain separate export folders for each print method. Save your master working file in one location and create method-specific exports in clearly labeled folders. This organizational structure reduces errors and speeds up file retrieval when rush orders arrive.
Document your color settings, ICC profiles, and export parameters in a text file stored with your projects. Six months later, you will not remember which specific sublimation profile you used for a particular job. Written documentation eliminates guesswork and ensures consistency across reorders.
Quality Control and Test Printing
Run test prints before full production, especially when working with new designs or unfamiliar substrates. A single test print costs a fraction of a failed production run. Evaluate color accuracy, detail reproduction, and overall appearance on the actual substrate that your client selected.
Create a physical swatch library of common color values on each print method. Print solid color squares of your brand colors or frequently used Pantone equivalents using each technology. This reference eliminates digital color variation and provides accurate comparisons during client consultations.
Review files at 100% zoom and again at 200% zoom before export. Look for stray anchor points, unclosed paths, and accidental transparency effects. These small errors often go unnoticed until they appear as defects on printed garments. Five minutes of careful review prevents hours of reprinting.
Works Cited
"Best Practices for Digital Printing." Digital Textile Printing Association, 2024, www.digitaltextile.org/best-practices.
Chambers, R. "Color Management for Sublimation Printing." Screen Printing Magazine, vol. 58, no. 3, 2023, pp. 42-48.
"Direct-to-Film Printing: Technical Guide." FESPA, 2024, www.fespa.com/en/news-media/technical-guides/dtf-printing.
Martinez, L. "Vector File Preparation for Garment Decoration." Impressions Magazine, 15 Aug. 2023, www.impressionsmag.com/decorating/vector-files-guide.
"RIP Software Configuration Manual." Wasatch Computer Technology, 2024, www.wasatch.com/documentation.
Recent Comments