Color shifting ruins direct-to-garment prints. One day your reds look vibrant, the next they print orange. Blues shift toward purple. Your customers notice immediately, and your brand reputation suffers. The solution lies in systematic calibration, not guesswork or random adjustments.
Most print shops treat calibration as an occasional task rather than a scheduled workflow requirement. This approach guarantees inconsistent output. Professional DTG operations calibrate regularly and document every setting change. The process takes less time than reprinting failed jobs, and the color accuracy improvements justify the investment immediately.
This guide covers the five essential calibration steps that eliminate color shifting in DTG printing. These techniques work across Brother, Epson, Kornit, and Ricoh platforms. You will learn specific software settings, testing protocols, and documentation methods that maintain consistent color output month after month.
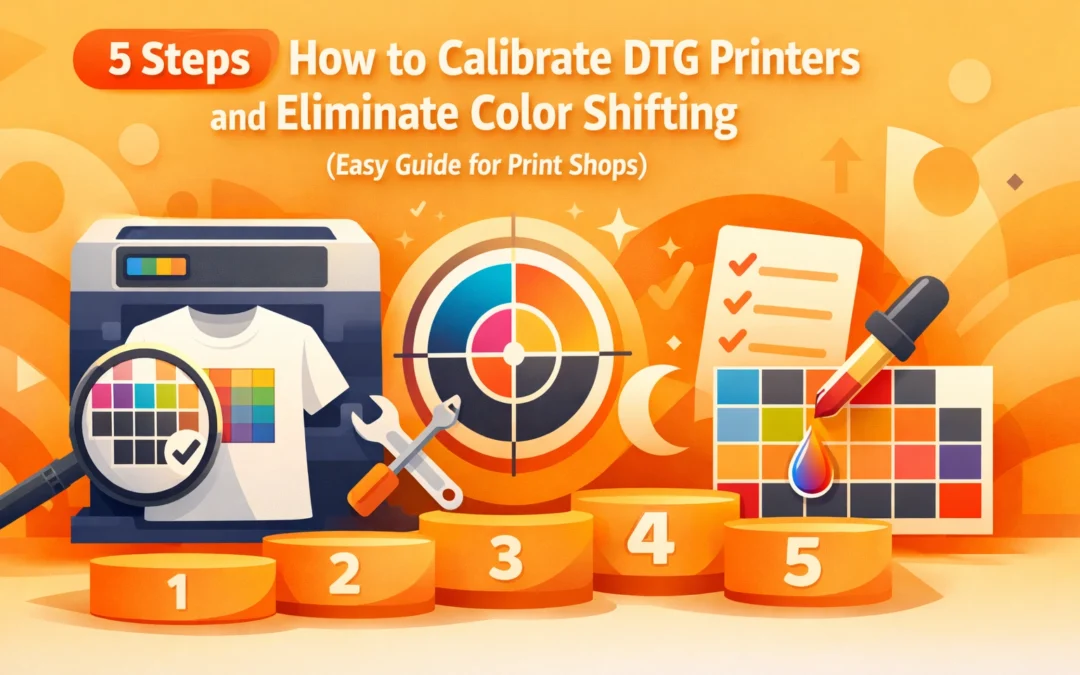
Step 1: Printer Head Calibration
Printer head calibration establishes the baseline for all subsequent color adjustments. Without proper head alignment, even perfect color profiles produce inconsistent results. Access your calibration utility through your RIP software or printer driver interface. Most professional RIP solutions like Wasatch SoftRIP, Kothari PrintPro, or Cadlink include dedicated calibration modules.
The calibration process displays multiple test patterns on screen. Each pattern shows subtle variations in head positioning. Look carefully at the printed patterns. Select the pattern showing the sharpest lines with no ghosting, doubling, or broken segments. The correct pattern appears crisp without visible gaps between ink droplets.
Run this calibration monthly as standard maintenance. Perform it immediately after replacing print heads or after any physical printer movement. Temperature fluctuations and normal wear affect head positioning over time. A monthly schedule prevents gradual drift from optimal alignment.
Document your selected pattern number in your maintenance log. This baseline helps you identify when calibration settings change unexpectedly. If future calibrations require significantly different pattern selections, investigate potential mechanical issues before continuing production.
Step 2: Color Calibration and Profile Setup
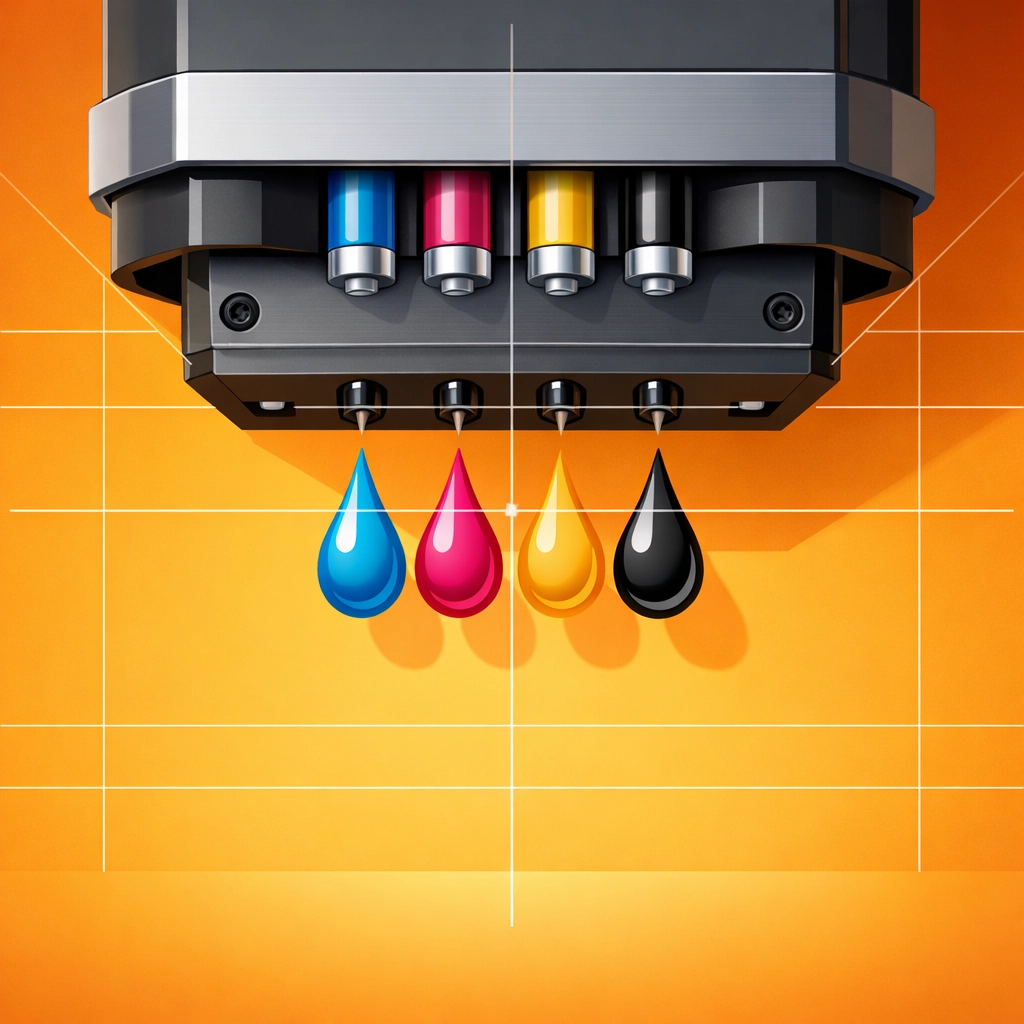
Color calibration matches your printer output to standardized color values. This step requires understanding ICC profiles and color management workflows. Your RIP software manages color conversion from RGB design files to CMYK printer output, but only when configured correctly.
Start by loading the ICC profile specific to your ink and garment combination. White cotton requires different profiles than dark polyblend fabrics. Many manufacturers provide starter profiles, but custom profiles deliver superior results. Install profiles in your RIP software's color management section, not your operating system.
Print a color test chart containing known color values. Compare your printed output against the reference chart under consistent lighting conditions. Color evaluation requires daylight-balanced lighting at 5000K. Standard office lighting produces misleading comparisons that result in inaccurate adjustments.
For precise calibration, use a spectrophotometer like the X-Rite i1Pro 2 or DataColor SpyderPrint. These devices measure actual color values from your printed output. Import the measurements into your RIP software. The software generates or adjusts your ICC profile based on measured deviations from target values.
Most RIP solutions include built-in profiling tools. Wasatch SoftRIP offers profile editing capabilities within its color management module. If your RIP lacks profiling features, standalone solutions like Adobe Color Printer Utility or ColorLogic ColorAnt provide professional-grade profile creation and editing.
Adjust color balance curves if your printed colors consistently shift in one direction. If all blues print slightly purple, modify the cyan-magenta balance in your color curves. Make incremental adjustments of 2-3% rather than dramatic changes. Test after each adjustment to prevent overcorrection.
Step 3: Ink Density Adjustment
Ink density affects both color accuracy and print durability. Too much ink causes color bleeding and stiff fabric hand feel. Insufficient ink produces washed-out colors that fade quickly. The optimal density balances color vibrancy with fabric feel and wash durability.
Print density test patterns at varying ink levels. Start at 80% density and create samples at 5% increments up to 120%. Many RIP software packages include density test pattern generators. If yours does not, create a simple gradient file in Adobe Illustrator with color patches ranging from 80-120% ink coverage.
Evaluate each test print for color saturation and texture. Press your fingers against the printed area. Properly calibrated prints feel soft with minimal raised texture. Excessive ink creates a plastic-like surface that cracks during washing. Insufficient ink fails to fully saturate the fabric fibers.
Check color vibrancy under your standard viewing conditions. The correct density shows rich, saturated colors without ink pooling or fiber show-through. Dark colors like navy and black require higher density settings than pastels and light colors. Document optimal density settings for each color family in your calibration records.
Adjust density settings in your RIP software's ink configuration panel. Most professional RIP solutions allow per-channel density adjustment. Reduce magenta density if reds print too pink. Increase cyan if blues appear washed out. Test each adjustment with a small print sample before running production jobs.
Step 4: Fine-Tune Print Alignment
Print alignment ensures color channels register precisely on the substrate. Misalignment causes shadowing, double lines, and muddy colors where channels overlap incorrectly. Even perfect color profiles fail when alignment drifts out of specification.
Access your printer's alignment utility through the control panel or RIP software. Print the alignment test pattern on your standard production substrate. White cotton, black cotton, and polyblend fabrics may require separate alignment profiles due to fabric thickness variations.
Examine the printed alignment pattern closely. Look for sharp transitions between colors without visible gaps or overlaps. Misalignment appears as colored halos around black lines or stepped edges where colors should meet cleanly. Note which colors show misalignment before making adjustments.
Adjust alignment values incrementally. Most systems use numerical values representing thousandths of an inch. Change values by 1-2 units maximum per adjustment cycle. Print a new test pattern after each change. Iterative adjustment prevents overshooting the correct alignment.
Some advanced DTG printers offer bi-directional alignment calibration. This feature optimizes alignment for print head movement in both directions. Enable bi-directional printing only after confirming alignment in both directions matches precisely. Mismatched bi-directional alignment creates banding patterns in solid color areas.
Step 5: Test, Document, and Recalibrate Regularly
Calibration means nothing without verification and documentation. Create a standard test file containing color patches, gradients, fine lines, and text elements. Print this file after completing calibration steps. Compare against your reference print to verify calibration success.
Photograph your calibrated test prints under consistent lighting. Store these images in your documentation system alongside calibration settings and dates. This visual record helps troubleshoot future color issues and tracks calibration drift over time.
Document all settings in a calibration log. Record date, operator name, specific adjustments made, and test print results. Include ICC profile names, density percentages, and alignment values. This documentation proves invaluable when training new operators or troubleshooting quality issues.
Schedule recalibration based on production volume and substrate changes. High-volume shops running 100+ prints daily should calibrate weekly. Lower-volume operations can extend to monthly calibration. Always recalibrate when switching ink brands, changing print heads, or introducing new garment types.
Monitor print quality between calibration cycles. Keep reference prints at your workstation. Compare production output against references periodically. Early detection of calibration drift prevents costly production runs with color issues. Address small shifts immediately rather than waiting for scheduled calibration.
Store backup copies of calibration files and custom ICC profiles. Keep copies on separate storage devices and in cloud backup systems. Losing calibration data requires repeating the entire calibration process. Regular backups protect your calibration investment and minimize downtime from data loss.
Moving Forward with Color Consistency
DTG printer calibration requires systematic execution rather than technical expertise. Following these five steps establishes reliable color output that builds customer confidence and reduces waste. The time invested in proper calibration returns multiples in reduced reprints, faster production, and improved print quality.
Start implementing these calibration steps in your workflow immediately. Begin with print head calibration, then progress through color profiles, density adjustment, alignment, and documentation. Each step builds on the previous foundation. Skipping steps or rushing through calibration produces incomplete results that fail under production conditions.
Color consistency separates professional print shops from hobbyist operations. Your customers expect their brand colors to match exactly across all products and reorders. Systematic calibration delivers that consistency, building the reputation that drives repeat business and referrals.
Works Cited
Kornit Digital. "Color Management in Direct-to-Garment Printing." Kornit Digital Technical Resources, 2024, www.kornit.com/technical-resources.
Brother International Corporation. "GTX Print Head Calibration and Maintenance Guide." Brother DTG Support Documentation, 2025, www.brother-usa.com/gtx-support.
Wasatch Computer Technology. "SoftRIP Color Calibration Workflow." Wasatch Technical Documentation, 2025, www.wasatch.com/support.
X-Rite Incorporated. "Spectrophotometric Color Measurement for Textile Printing." X-Rite Color Management Solutions, 2024, www.xrite.com/solutions.
Recent Comments