Vector files offer scalability and precision that raster images cannot match. When preparing designs for print production, proper file preparation determines whether your project delivers professional results or costly reprints. This guide outlines a standardized workflow for both Adobe Illustrator and Affinity Designer users, covering the critical steps that separate amateur submissions from print-ready files.
Step 1: Configure Your Color Mode Based on Print Method
Color mode selection directly impacts your final print quality. The choice between CMYK and RGB depends entirely on your production method, not on arbitrary rules about "print always uses CMYK."
Traditional offset printing requires CMYK color mode. This four-color process mixes cyan, magenta, yellow, and black inks to reproduce your design. If your project includes specific brand colors, add Pantone spot colors to ensure accurate reproduction. Spot colors print as separate ink passes, guaranteeing color consistency across print runs.
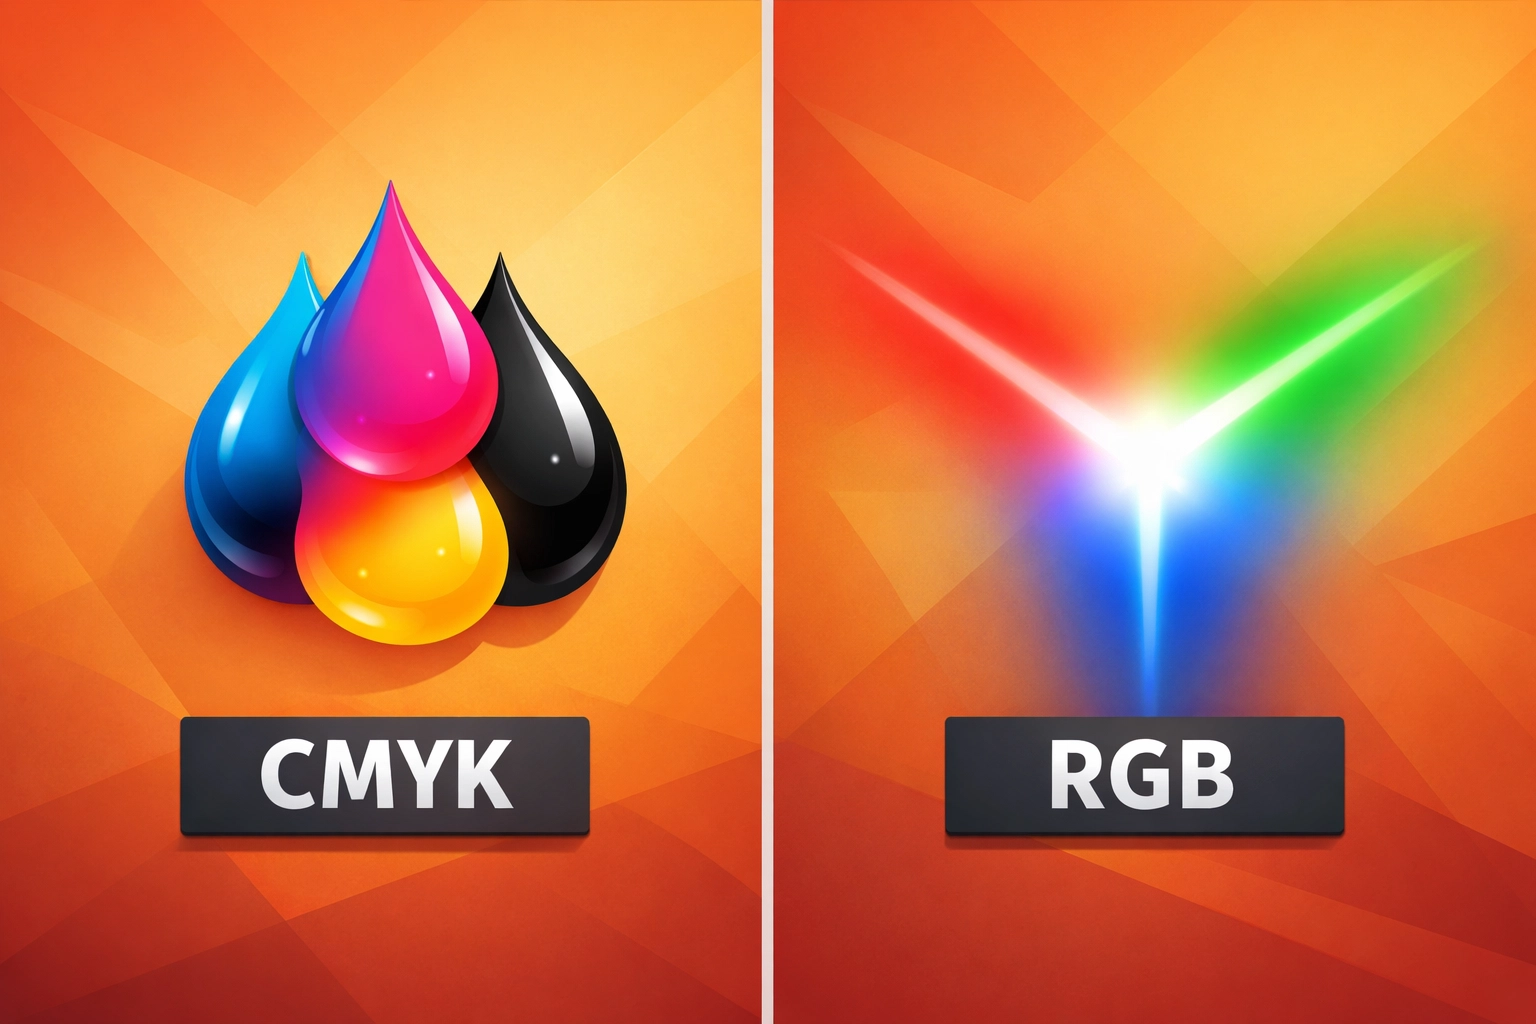
Modern digital printing and print-on-demand services often prefer RGB files. Advanced RIP (Raster Image Processor) software converts RGB to CMYK using sophisticated color management profiles optimized for specific equipment and substrates. The sRGB IEC61966-2.1 color space provides the standard for digital printing workflows, delivering more vibrant colors than basic CMYK conversion.
For single-color prints, create your artwork in CMYK mode using 100% black (K channel only). This prevents registration issues and ensures consistent ink coverage.
Adobe Illustrator Workflow:
Navigate to File > Document Color Mode and select either CMYK Color or RGB Color. Check your selection by opening the Color panel (Window > Color) and verifying the displayed color sliders match your intended output.
Affinity Designer Workflow:
Access Document Setup through File > Document Setup, then select the Color tab. Choose either CMYK/8 or RGB/8 from the Color Format dropdown. Affinity Designer displays the active color space in the document title bar for quick reference.
Step 2: Manage Typography for Production Reliability
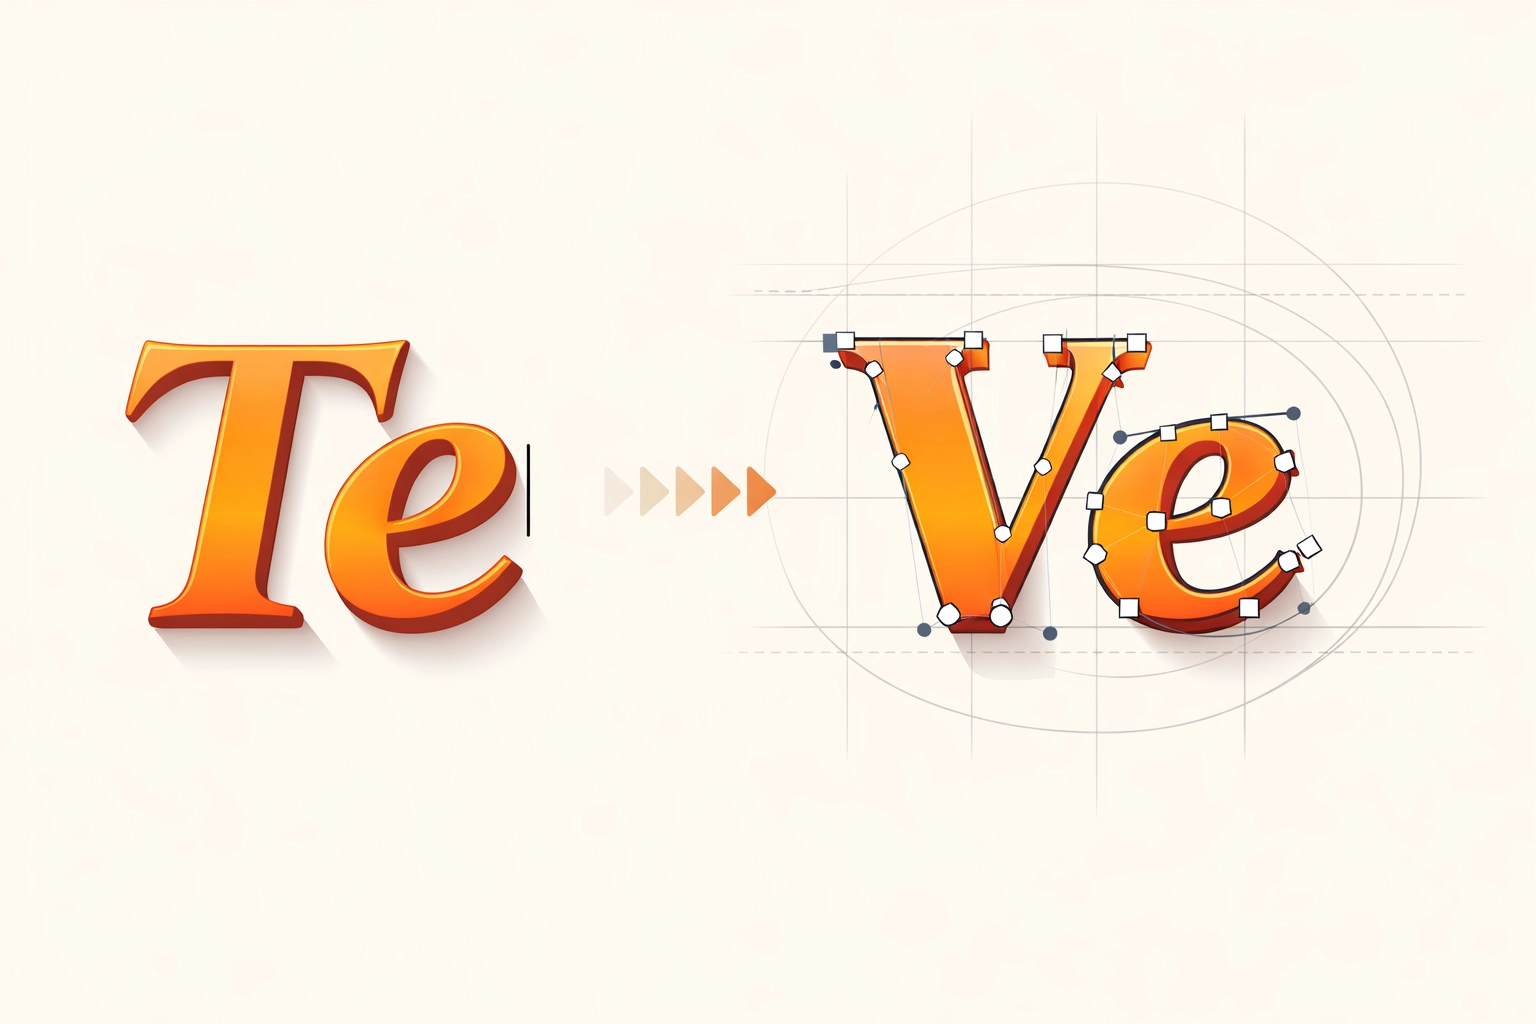
Font issues cause more print delays than any other technical problem. Printers cannot reproduce your design accurately without access to your exact typefaces. Two solutions address this challenge: embedding fonts or converting text to outlines.
Embedding fonts includes the actual font data within your file. This method maintains editability while ensuring the printer can render your text correctly. However, font licensing restrictions sometimes prohibit embedding, particularly with premium or commercial typefaces.
Converting text to outlines transforms letters into vector paths. This guarantees universal compatibility regardless of font availability or licensing. The tradeoff involves losing editability. You cannot modify text content after outline conversion, so save an editable working file before converting.
Small text presents specific challenges with outline conversion. Type smaller than 8 points can lose readability when converted to outlines, especially in serif fonts with fine details. For business cards, letterhead, or other materials with small text, embedding fonts usually provides better results.
Adobe Illustrator Workflow:
Select all text using Select > Object > Text Objects. Choose Type > Create Outlines or use the keyboard shortcut Cmd+Shift+O (Mac) or Ctrl+Shift+O (Windows). Verify conversion by attempting to select individual letters; outlined text selects as compound paths, not editable text.
Affinity Designer Workflow:
Select text objects, then choose Layer > Convert to Curves from the menu bar. Alternatively, right-click selected text and choose Convert to Curves from the contextual menu. The text icon in the Layers panel changes to a curves icon after successful conversion.
Step 3: Establish Bleeds and Trim Marks
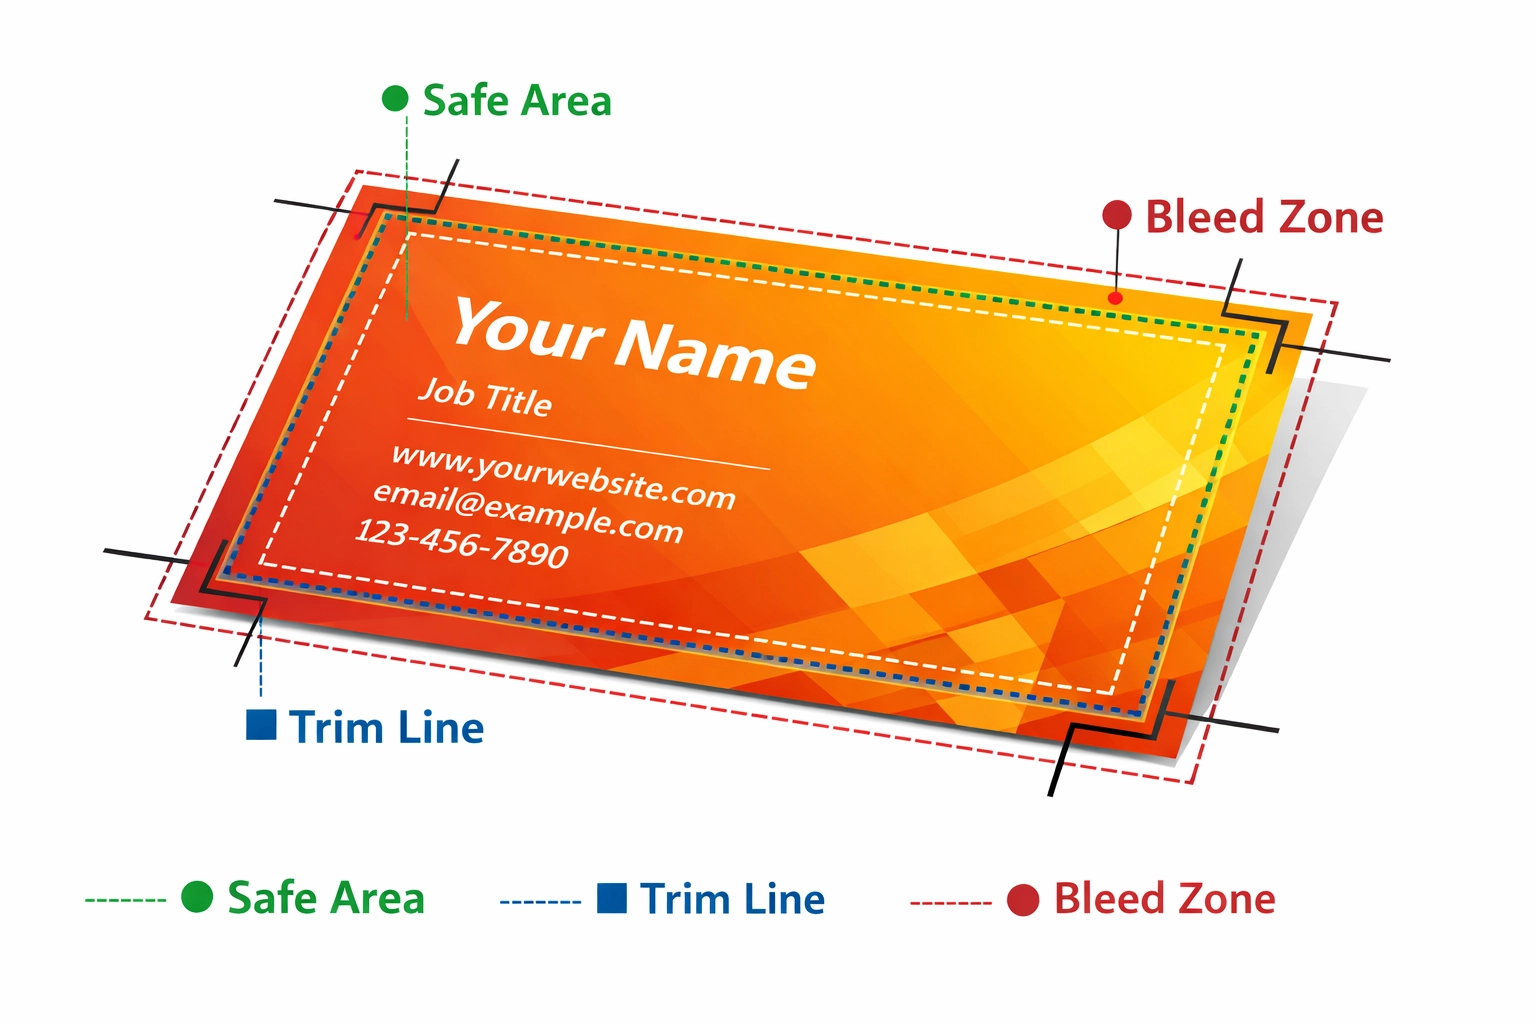
Professional printing requires artwork that extends beyond the finished size. Printers cannot cut exactly at the artwork edge without occasionally trimming into your design. Bleeds solve this problem by extending background colors, images, and design elements past the trim line.
Standard bleed measurements add 0.125 inches (1/8 inch) beyond each edge. A business card measuring 3.5 x 2 inches requires an artwork size of 3.75 x 2.25 inches with bleeds. Some commercial printers request 0.25 inches for large-format work or projects with critical edge alignment.
Crop marks indicate precisely where the printer should trim the finished piece. These registration marks print outside the final dimensions and get removed during finishing. Include crop marks on all four corners, ensuring they sit far enough from the artwork to survive the trimming process without accidentally appearing on finished pieces.
Many printers provide templates with pre-configured bleeds and crop marks. Using these templates eliminates guesswork and ensures your files match their production specifications exactly.
Adobe Illustrator Workflow:
Set up bleeds during document creation by entering values in the Bleed fields of the New Document dialog. For existing documents, choose File > Document Setup and enter bleed measurements. Add crop marks by selecting the artwork, then choosing Object > Crop Area > Make. Alternatively, enable crop marks during PDF export in the Marks and Bleeds section.
Affinity Designer Workflow:
Configure bleeds in File > Document Setup under the Margins and Bleeds section. Enter identical measurements in all four bleed fields for standard setup. Add crop marks by creating a rectangle at your trim size, then selecting Print > Add Print Area from the Layer menu. The print area generates crop marks automatically.
Step 4: Export Files in Production-Standard Formats
File format determines compatibility with printing equipment and prepress workflows. PDF and EPS formats provide the industry standard for vector artwork submission, each offering specific advantages for different production scenarios.
PDF (Portable Document Format) files maintain vector data while embedding fonts, images, and color profiles in a single package. The PDF/X standards specifically address print production requirements. PDF/X-1a provides the most conservative option, requiring CMYK color and embedded fonts. PDF/X-4 supports transparency, layers, and RGB color, making it suitable for modern digital printing workflows.
EPS (Encapsulated PostScript) files offer universal compatibility with older printing systems. This legacy format works reliably across different platforms and software versions. However, EPS cannot embed multiple pages and provides limited support for transparency effects.
Export settings require attention to resolution, color management, and compression. Embed all fonts and images. Include bleed and crop marks in your export settings rather than creating them manually. Verify that color profiles match your earlier color mode decisions.
Adobe Illustrator Workflow:
Select File > Save As and choose Adobe PDF from the format dropdown. In the PDF options dialog, select PDF/X-1a:2001 or PDF/X-4:2008 from the Standard menu. Enable Preserve Illustrator Editing Capabilities only for files you might need to revise. In Marks and Bleeds, enable All Printer's Marks and set the offset to 0.125 inches.
Affinity Designer Workflow:
Choose File > Export and select PDF from the format list. In the export dialog, select PDF/X-1a or PDF/X-4 from the preset dropdown. Enable the Include Bleed option and verify that Text as Curves is selected if you did not convert text earlier. Click Export to save your print-ready file.
Step 5: Proof and Verify Before Production
Digital proofing catches errors before they become expensive mistakes. Review your exported PDF using Adobe Acrobat or a dedicated preflight tool. Check that all fonts display correctly, colors appear as expected, and bleeds extend properly beyond trim marks.
Print a physical proof on your desktop printer at actual size. This low-cost test reveals issues with text size, color relationships, and overall layout that may not be obvious on screen. Hold the proof at normal viewing distance to assess whether your design communicates effectively at its finished size.
Color accuracy requires calibrated displays and controlled lighting. Your monitor displays colors using RGB light, while printed pieces reflect CMYK or spot color inks. This fundamental difference means screen colors never match printed colors exactly. Physical proofs and color swatches provide the only reliable preview of final printed appearance.
Communication with your printer prevents misunderstandings about specifications. Confirm their preferred file format, color mode, resolution requirements, and bleed measurements before submission. Some printers offer preflight services that check your files automatically and report potential issues before production begins.
Many print providers offer soft proofing tools that simulate how your design will appear on specific paper stocks and printing methods. These digital proofs use ICC color profiles matched to actual production equipment, providing more accurate previews than generic PDF viewers.
Works Cited
PrintNinja. "How to Prepare Files for Printing: Artwork Setup Guide." PrintNinja, 2024, www.printninja.com/printing-resource-center/file-setup.
Printful. "File Preparation Guidelines for Print-on-Demand." Printful Print Provider Manual, 2024.
PrintPlace. "Vector File Preparation for Commercial Printing." PrintPlace Support Documentation, 2024, www.printplace.com/articles/prepare-vector-files-for-printing.
Recent Comments