Precision in print production is not a luxury. It is a technical requirement. At Creative Design Hub (84G), we understand that even the most expensive hardware is only as capable as the Raster Image Processor (RIP) software driving it. RIP software translates digital vector and raster data from programs like Adobe Illustrator or Affinity Designer into instructions the printer hardware can execute. However, many production managers and designers struggle with color shifts, grainy gradients, and inconsistent output across different substrates. These issues often stem from fundamental errors in calibration. By identifying these common pitfalls, you can streamline your workflow and ensure your output matches your digital intent every time.
1. Using Production Data for Fine-Tuning
One of the most frequent errors in print shops is the attempt to calibrate a machine using color bar data from actual production jobs. While it seems logical to measure the tint values from a live project to adjust settings, this approach often introduces more variables than it solves. Production files are subject to specific color management settings, rendering intents, and design elements that can skew the raw performance data of the printer.
If you enter measured values from production jobs into "Edit From Calibrated" fields within your RIP software, you are likely compensating for a specific file rather than the printer itself. This creates a cycle of endless micro-adjustments that never quite stabilize. To fix this, always use a dedicated calibration plate or target strip generated directly from the RIP’s Calibration Manager. These targets bypass standard color management to provide a raw look at how the ink is interacting with the substrate.
2. Skipping the No Color Management Baseline
Before you can build an accurate International Color Consortium (ICC) profile, you must understand what your printer does natively. Many operators rush straight into profiling without establishing a baseline. This is known as the "No Color Management" state. If you do not know the maximum density and the natural dot gain of your printer without software intervention, your profiles will work harder than necessary to correct flaws.
Establishing a baseline allows you to see the true gamut of your ink set. It helps you identify if a specific channel, such as Cyan or Magenta, is performing outside of its expected range. By printing a raw linear target first, you can ensure the hardware is in peak condition before the software begins to layer on complex color transformations. This foundational step is critical for consistent results in specialized processes like Direct to Garment (DTG) or Direct to Film (DTF) printing where ink behavior varies significantly.
3. Neglecting Printhead Height and Physical Alignment
Calibration is not purely a digital exercise. Mechanical variables often masquerade as software issues. If the printhead height is set incorrectly for the thickness of the substrate, the resulting "bi-directional" or "uni-directional" alignment will be off. This leads to blurry text and soft edges that no amount of software profiling can fix.
When switching between a thin vinyl and a thick canvas or a heavy hoodie, you must recalibrate the physical distance between the printhead and the material. Many modern printers offer automatic height adjustment features, but manual verification is still recommended. If you notice ghosting or a slight "haze" around sharp lines, check the physical alignment first. Furthermore, ensure all cables running from the print heads to the main board are securely seated. A loose connection or a cable in the wrong slot can cause intermittent communication errors that look like software bugs but are actually hardware failures.
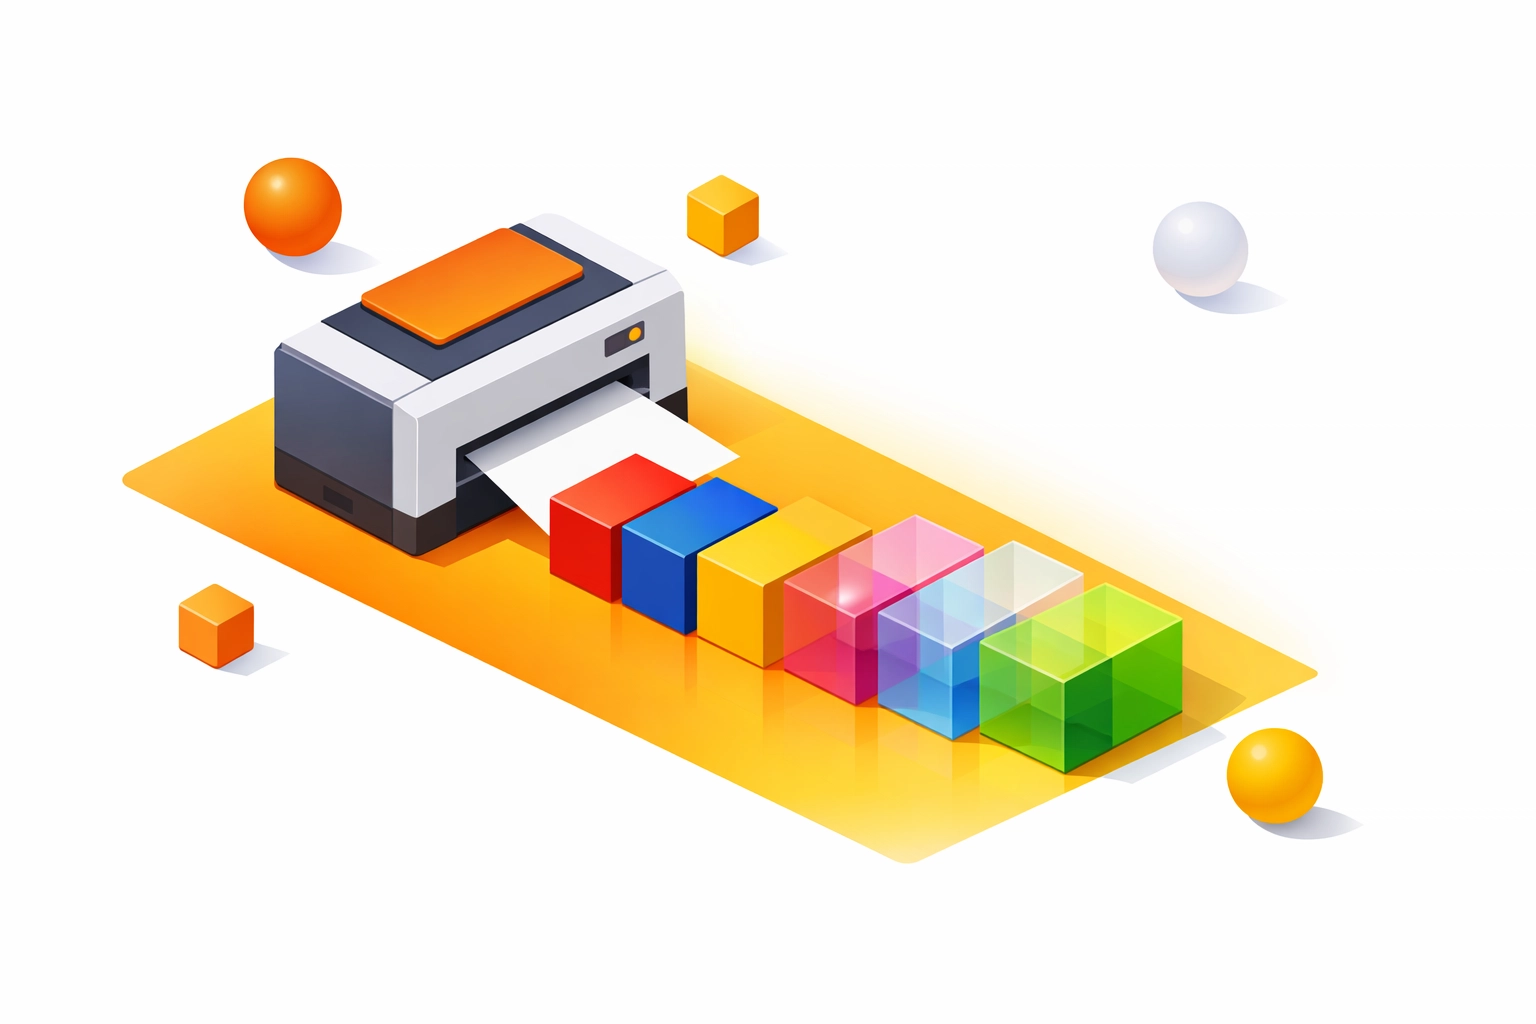
4. Ignoring Substrate-Specific Ink Requirements
Every substrate has a unique "absorption ceiling." Using the same ink limits for a glossy photo paper as you do for a matte bond paper is a recipe for disaster. If the ink limit is too high, the ink will pool, bleed, or take an excessive amount of time to dry. If it is too low, the colors will appear washed out and lack the necessary density for high-end graphic design projects.
Fixing this requires a systematic approach to Total Ink Limit (TIL) calibration. You should print an ink limit chart for every new media type you introduce to your inventory. This chart helps you identify the exact point where adding more ink no longer increases density but instead causes "mottling" or bleeding. Once you find this limit, input it into your RIP software to cap the output for that specific media profile. This ensures you are not wasting expensive ink or compromising the integrity of the print.
5. Inconsistent Environmental Conditions
Environmental factors like temperature and humidity have a direct impact on ink viscosity and substrate behavior. In a dry environment, ink can dry too quickly at the printhead, causing nozzle clogs and banding. In a highly humid environment, some substrates may swell or fail to absorb ink at the expected rate.
If you calibrate your RIP software on a humid Monday and the weather turns dry by Wednesday, your colors may shift. Professional print environments maintain a consistent climate to minimize these variables. If you cannot control the environment perfectly, you must implement a schedule for regular re-calibration. Even a quick "re-linearization" can account for environmental shifts and keep your production on track. This is especially important for high-volume shops managing diverse projects where color consistency is a primary metric of quality.
6. Over-reliance on Default Generic Profiles
Most RIP software comes pre-loaded with generic profiles for various materials. While these are useful for getting started, they are rarely optimized for your specific combination of ink, printer, and media. Generic profiles are designed to be "safe," meaning they often use a smaller color gamut than your machine is actually capable of producing.
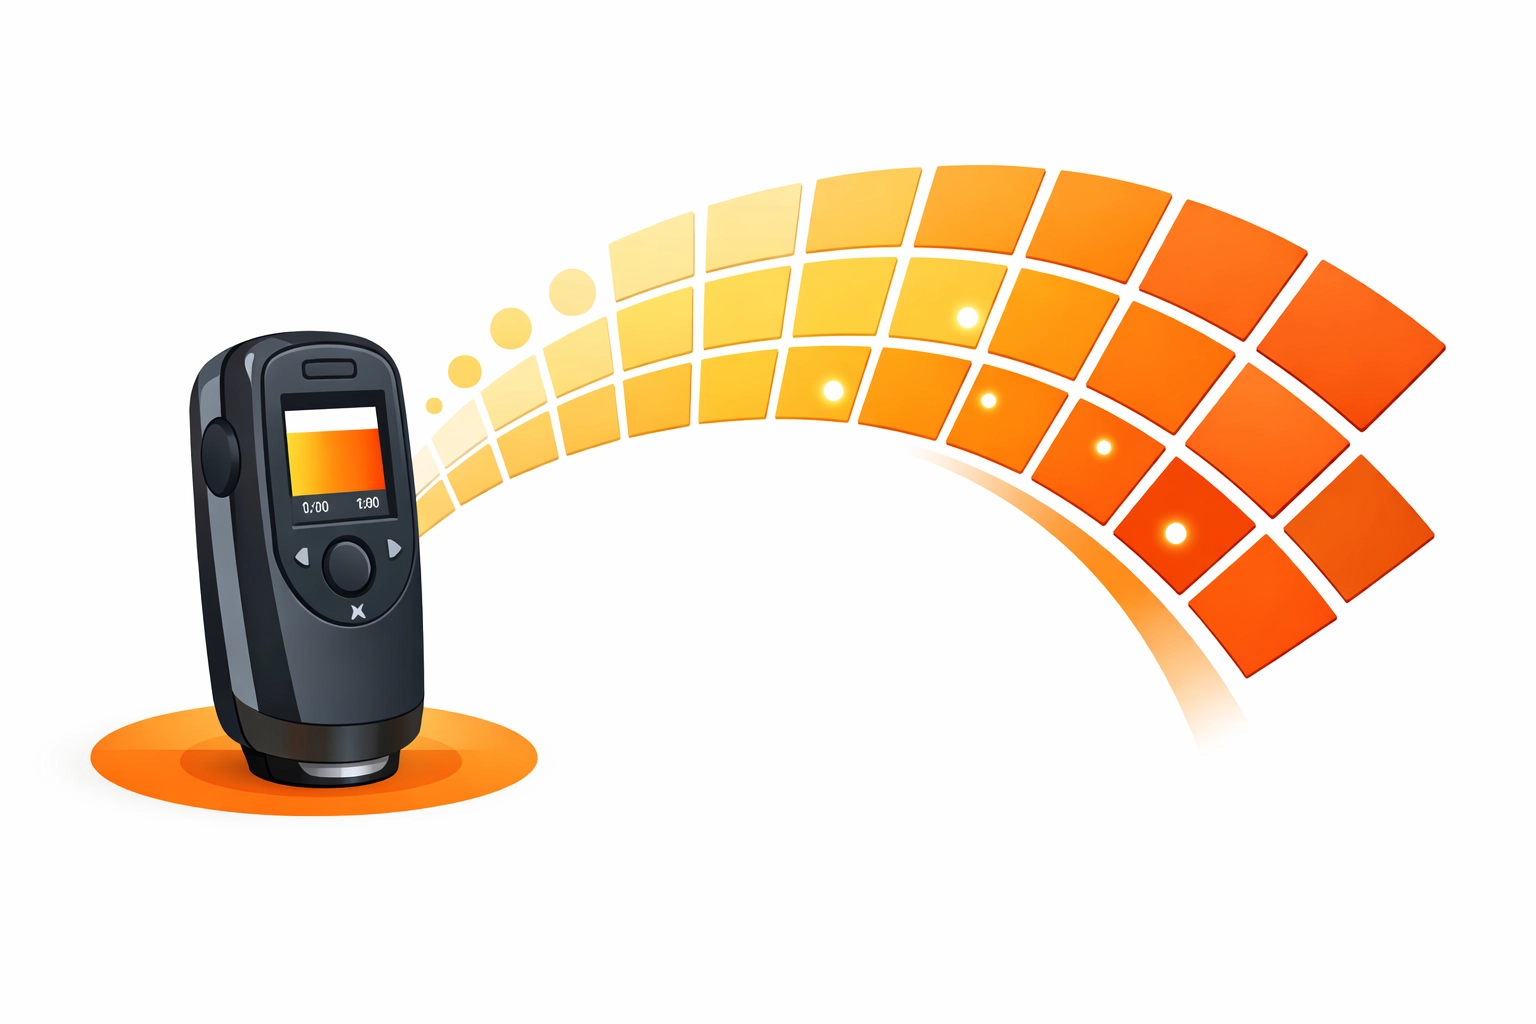
To achieve the best results, invest in a spectrophotometer and learn how to build custom ICC profiles. Custom profiling allows you to capture the full vibrant range of your ink set. It also ensures that a specific brand of red in your digital file translates to the exact same red on a physical banner or shirt. If you are serious about creative services and graphic design, generic profiles should only be a temporary stopgap, not a permanent solution.
7. Failing to Reset Calibration Values to Zero
When troubleshooting a machine that is producing poor results, many operators attempt to "fix" the problem by layering new calibration values on top of old ones. This is a mistake. Residual values in the calibration fields can cause compounding errors that are difficult to diagnose.
If you find yourself struggling with ghosting, misaligned prints, or strange color casts, the best course of action is to reset all calibration values to zero. Start from a clean slate. This ensures that you are not building a new calibration on top of a flawed foundation. Once the values are reset, perform your mechanical alignments, establish your baseline, and then proceed with digital profiling. This "reset to zero" philosophy is a standard practice in professional print production to ensure long-term stability.
Implementing a Better Workflow
Correcting these seven mistakes will significantly reduce waste and improve the quality of your output. Calibration should not be a reactive process that you only perform when something goes wrong. Instead, it should be a proactive part of your weekly or monthly maintenance schedule. By treating your RIP software as a precision tool rather than a "set it and forget it" utility, you elevate the standard of your work.
For those looking to explore more technical workflows or review past successful implementations, visiting our our work page can provide insight into how professional calibration impacts final results. Whether you are working with Adobe CC or specialized RIP platforms, the principles of color science remain the same.
Works Cited
Caldera. "Linearization and Profiling Best Practices." Caldera Support Documentation, 2024.
Epson Professional Imaging. "Optimizing Print Quality through Media Calibration." Epson Technical Briefs, 2023.
ONYX Graphics. "The Importance of Ink Limiting in Color Management." ONYX Technical White Papers, 2022.
PrintWide. "Understanding the Baseline: Why Linearization Matters." Journal of Digital Printing, vol. 12, no. 4, 2023, pp. 45-52.
Roland DGA. "Maintaining Your Printhead for Consistent Color Output." Roland Knowledge Base, 2024.
X-Rite Pantone. "ICC Profiling: A Guide for Modern Print Shops." X-Rite Color Management Series, 2023.
Recent Comments