Production errors in print design cost businesses thousands of dollars annually. A single misconfigured file can result in reprints, missed deadlines, and damaged client relationships. Most of these errors stem from improper file preparation rather than design flaws. Adobe Illustrator remains the industry standard for vector-based print design, but its flexibility creates opportunities for mistakes if you skip critical export steps.
Understanding the technical requirements for print-ready files separates professional designers from amateurs. This guide covers five essential steps that eliminate the most common production errors before files reach the press.
Step 1: Configure Document Settings for Print Specifications
The foundation of any print-ready file begins before you create a single design element. Proper document setup prevents hours of corrections later in your workflow.
Start by creating a new document with exact dimensions for your final printed piece. A standard business card measures 3.5" x 2", but your artboard should measure 3.625" x 2.125" to accommodate bleed. This additional 0.125" on all sides ensures ink extends beyond the cut line, preventing white borders if cutting alignment shifts slightly during trimming.
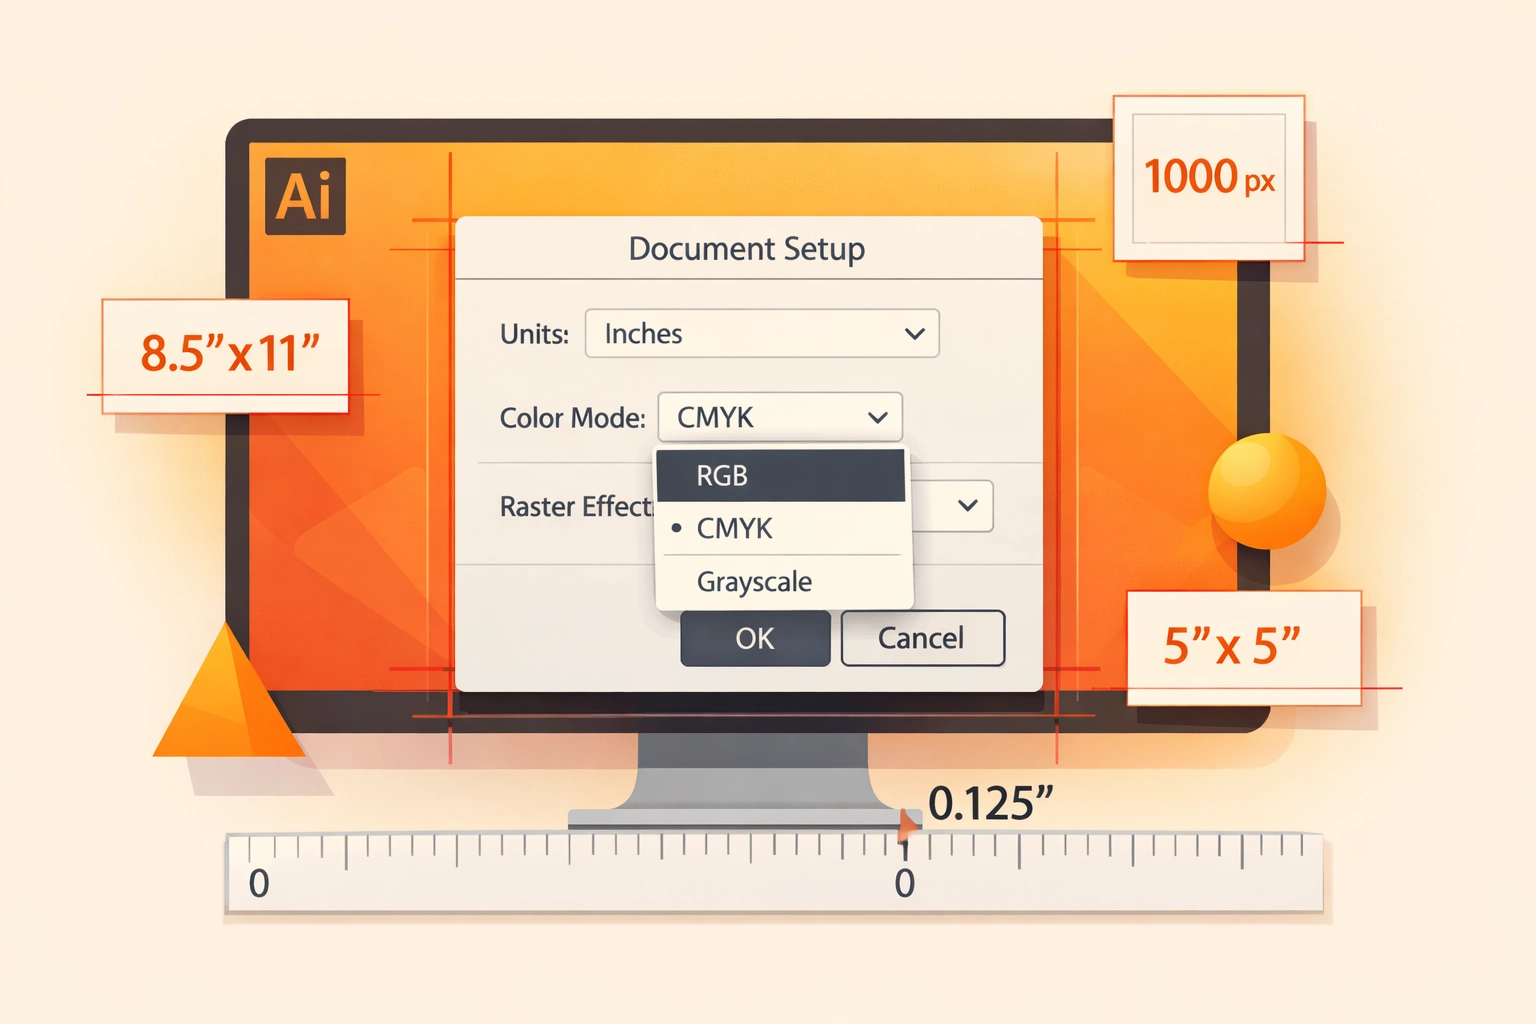
Color mode configuration determines how accurately your design translates from screen to paper. Navigate to File > Document Color Mode and verify CMYK Color is selected. RGB color models work for screens but create unpredictable results when converted to four-color process printing. The conversion happens automatically at many print facilities, but without your control over how those colors shift. A vibrant RGB blue often becomes noticeably duller in CMYK. Designing in the correct color space from the start gives you accurate color representation throughout your process.
Raster Effects resolution matters even in vector software. Set this value to 300 ppi in your document settings. Any effects like drop shadows, feathering, or Gaussian blurs render as raster elements at this resolution. Lower settings create visible pixelation in print, while higher settings unnecessarily inflate file size without perceptible quality improvements at standard viewing distances.
Step 2: Manage Linked and Embedded Images Properly
Illustrator handles placed images through two methods: linking and embedding. Linked images maintain a connection to an external file, keeping your Illustrator document smaller but creating dependencies. If you move the Illustrator file without the linked images, or if the image files get renamed or deleted, you face missing link errors.
Embedding converts external images into part of your Illustrator document. This increases file size but eliminates external dependencies. For print production, embedding provides reliability. Printers receive a single file containing everything needed to reproduce your design.
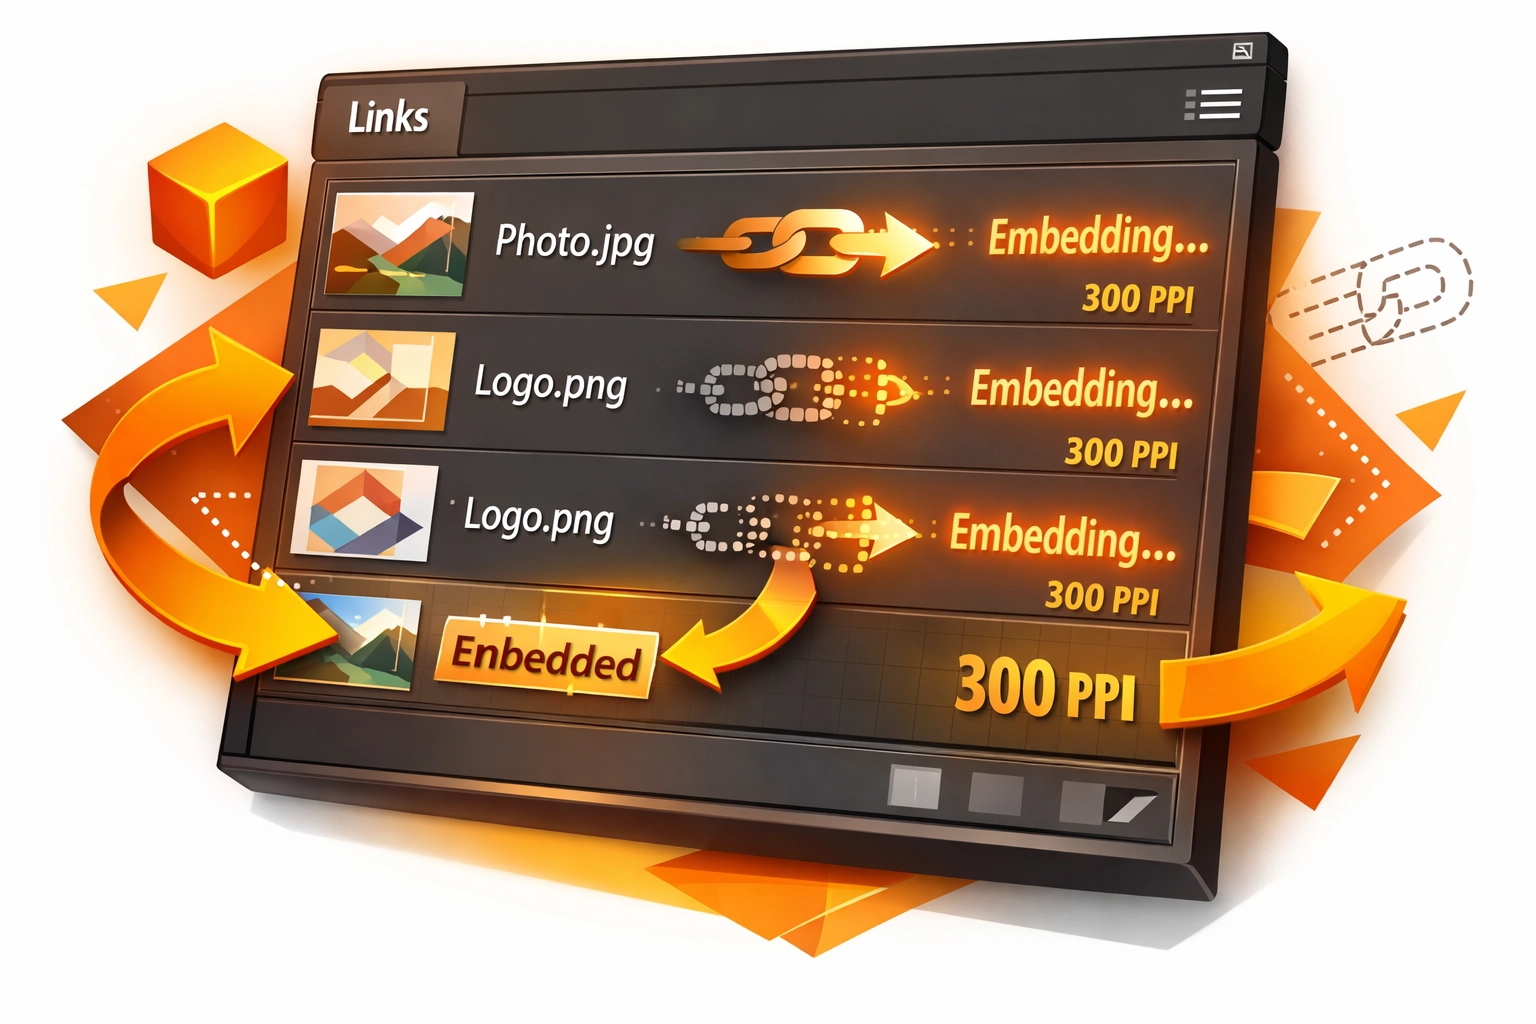
To embed images, open the Links panel through Window > Links. This panel displays all placed images in your document. Images with a chain link icon remain linked to external files. Select each image in the panel, click the panel menu icon in the upper right corner, and choose Embed Image. The chain link icon disappears, confirming the image now lives within your document.
Check image resolution while the Links panel is open. Click any embedded image and examine the panel's lower left corner for pixel dimensions and effective PPI. Effective PPI accounts for scaling. A 150 ppi image scaled to 50% displays at 300 ppi effective resolution. Print production requires 300 ppi minimum for photographic images and 600-1200 ppi for line art and logos.
Step 3: Convert Text to Outlines
Font licensing and availability create significant production obstacles. Your carefully selected typeface might not exist on the printer's system. Even if it does, subtle version differences between font files can alter spacing, line breaks, and overall layout.
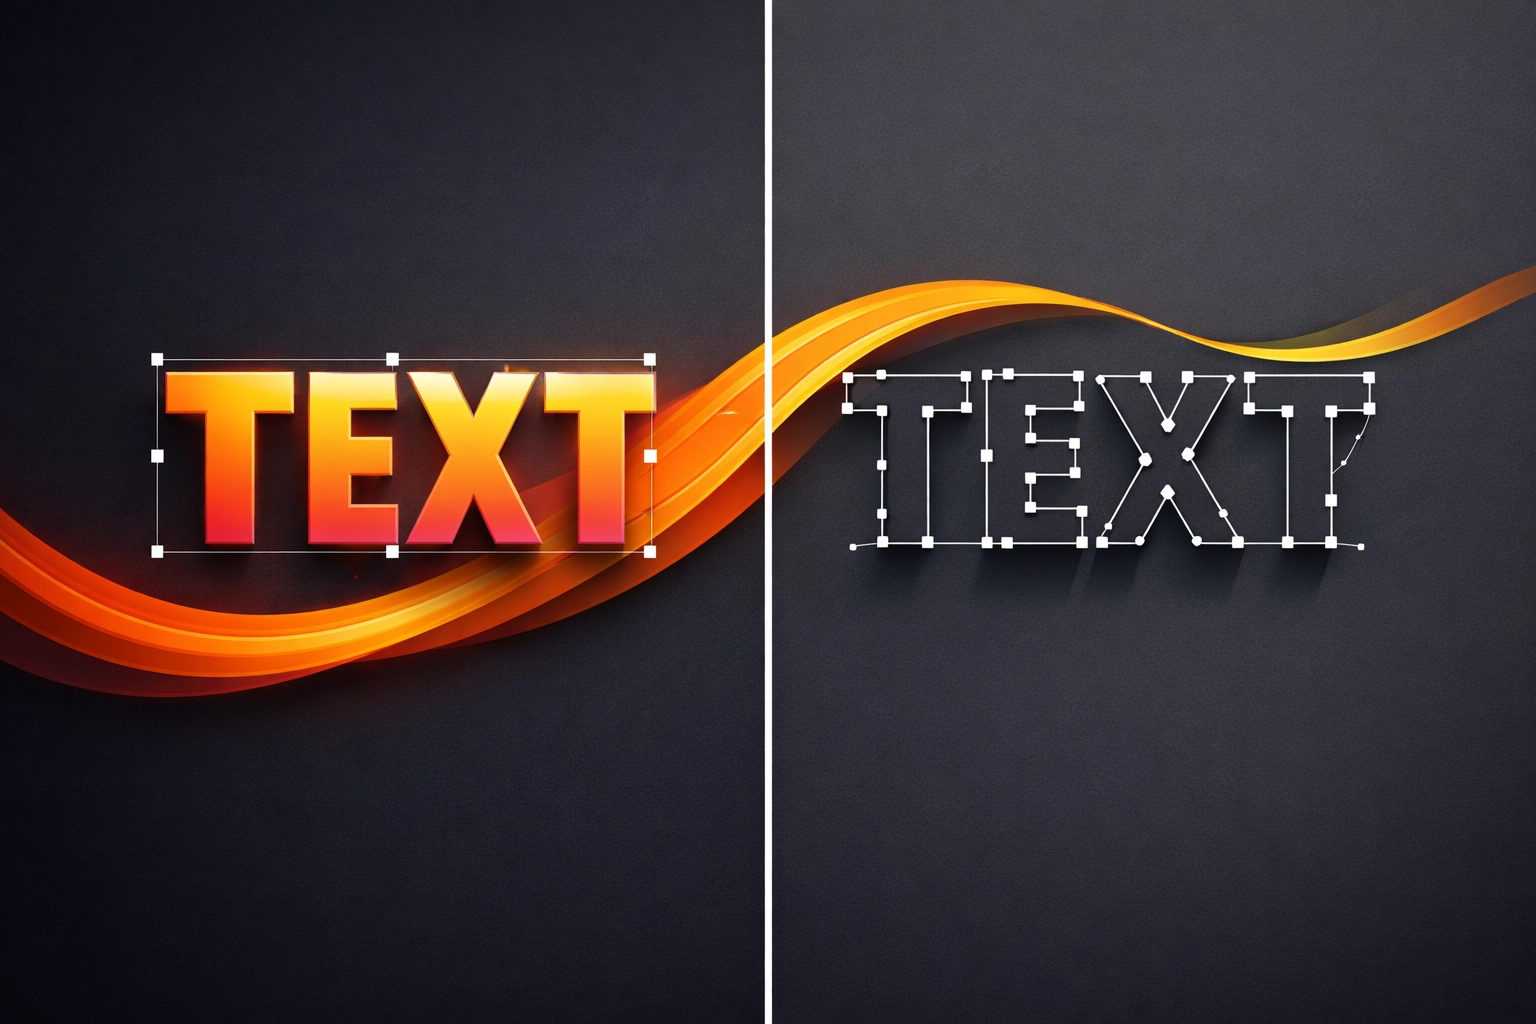
Converting text to outlines transforms letterforms from font-dependent characters into standard vector paths. This process guarantees visual consistency regardless of what fonts the printer has installed. The tradeoff is that outlined text becomes uneditable as text. You cannot run spell check, adjust tracking, or modify the words without recreating them.
Before outlining, save a copy of your file with editable text. Name it clearly, such as "BusinessCard_EDITABLE.ai" alongside your print file "BusinessCard_PRINT.ai." This preserved version lets you make text changes for future revisions without rebuilding designs from scratch.
To outline text in your print version, press Command + A (Mac) or Control + A (Windows) to select all objects. Then use Type > Create Outlines or the keyboard shortcut Shift + Command + O (Mac) or Shift + Control + O (Windows). Text objects convert to compound paths and grouped shapes. Verify the conversion by attempting to select text with the Type tool. If you cannot click into the letters to edit them, the outline process succeeded.
Small text below 6-8 points can show slight degradation when outlined, particularly in detailed serif fonts. For most print applications, this difference remains imperceptible. If you work on large-format printing where small text will be viewed at close range, discuss with your printer whether outlining is necessary for their specific workflow.
Step 4: Apply Bleed and Set Trim Marks
Bleed and trim marks communicate cutting instructions to production staff. Without these guides, printers must guess where to cut your design or add arbitrary margins that might crop critical elements.
Bleed extends your design beyond the final trim size. The standard bleed measurement is 0.125" on all edges, though some printers request 0.25" for large format work. Extend background colors, images, and design elements to this bleed line. Never place text or logos in the bleed area unless you intend them to be trimmed.
Set up bleed in your original document through File > Document Setup > Edit Artboards. Enter 0.125" in all four bleed fields (Top, Bottom, Left, Right). This creates a red guide line showing where your bleed area extends beyond the artboard.
Trim marks indicate exactly where cutting should occur. These small corner marks sit outside your bleed area in the margins. Configure trim marks during PDF export rather than adding them manually to your artwork. Manual marks might accidentally get incorporated into your design if not placed on a separate layer.
Step 5: Export with Correct PDF Settings
PDF format provides universal compatibility and preserves all visual elements without requiring the printer to have Illustrator or your specific fonts installed. However, not all PDF exports are equal. Consumer-oriented PDF settings optimize for file size and screen viewing, sacrificing the quality and technical specifications print production demands.
Navigate to File > Save As and select Adobe PDF from the Format dropdown. The Save Adobe PDF dialog provides numerous preset options. Choose "High Quality Print" or "Press Quality" as your starting point. These presets configure compression, color management, and image sampling appropriately for print reproduction.
In the Marks and Bleeds tab, enable Trim Marks and set the offset to 0.125". This places crop marks outside your bleed area. Check "Use Document Bleed Settings" to apply the 0.125" bleed you configured earlier. These settings ensure your PDF contains all the information a printer needs for accurate cutting.
Review the Compression settings. For color and grayscale images, select "Automatic (JPEG)" compression at Maximum quality, or use ZIP for lossless compression if file size is not a concern. Set downsampling to 300 ppi. For monochrome images, use 1200 ppi with CCITT Group 4 compression.
In the Output section, verify Color Conversion is set to "Convert to Destination (Preserve Numbers)" and Destination is "U.S. Web Coated (SWOP) v2" or whichever profile your printer specifies. Some printers prefer you leave colors unchanged and handle conversion themselves. Always confirm color management preferences before submitting files.
Click Save PDF and perform a final review of your exported file. Open it in Adobe Acrobat or another PDF viewer and zoom to 200-400% to inspect details. Check that trim marks appear correctly, colors look accurate, and no unexpected elements appeared during export.
Verify Before Submission
These five steps handle the technical requirements for most print projects, but individual print providers may have specific requirements. Request print specifications before beginning design work whenever possible. Understand their preferred file formats, color profiles, and whether they want native Illustrator files or PDFs.
Production errors decrease significantly when you establish reliable file preparation workflows. Document your process, create checklists for different project types, and maintain template files with correct settings already configured. These practices reduce the cognitive load of remembering technical details during creative work.
Print production combines creativity with precise technical execution. Master these fundamental file preparation steps, and you eliminate the most common errors that compromise print quality and project timelines.
Works Cited
Adobe Inc. "Prepare Files for Print." Adobe Illustrator User Guide, Adobe, 2025, helpx.adobe.com/illustrator/using/print-files.html.
PrintPlace. "How to Setup Bleed in Adobe Illustrator." PrintPlace Learning Center, 2024, www.printplace.com/articles/how-to-setup-bleed-in-adobe-illustrator.
Smith, Jennifer. "Color Management for Print Production." Print Production Monthly, vol. 34, no. 2, 2025, pp. 45-52.
Thompson, Mark. Digital Prepress Complete: A Comprehensive Guide to Preparing Documents for Print. Adobe Press, 2024.
Recent Comments