Print production failures cost time and money. One misaligned bleed, one RGB color that should have been CMYK, or one unoutlined font can halt production and delay delivery. Mastering technical file preparation in Adobe Illustrator eliminates these problems before files reach the printer.
The workflows outlined below represent essential technical knowledge for anyone sending Illustrator files to commercial print. These are not suggestions. They are requirements.
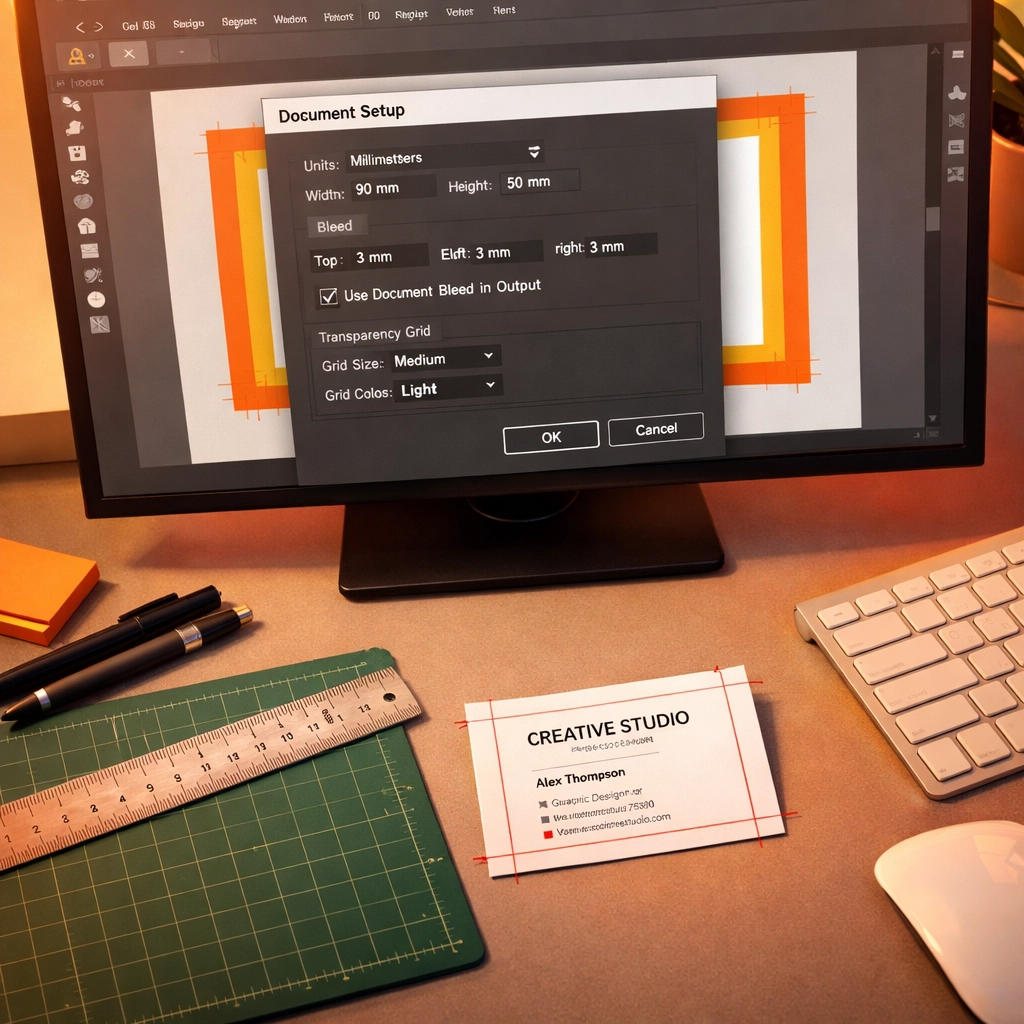
1. Document Setup with Proper Dimensions and Bleed
Start every print project with correct document settings. Navigate to File > New and input your final trim size, then add bleed. Standard bleed is 0.125 inches on all sides. A business card with a 3.5" x 2" finished size requires a 3.625" x 2.125" document with bleed included.
Why does this matter? Printers cut stacks of paper, not individual sheets. Slight variations in cutting position are inevitable. Bleed ensures your background colors and images extend beyond the trim line, preventing white edges on your finished piece.
Set up bleed at document creation rather than adjusting it later. This prevents artwork scaling issues and maintains proper positioning of critical elements.
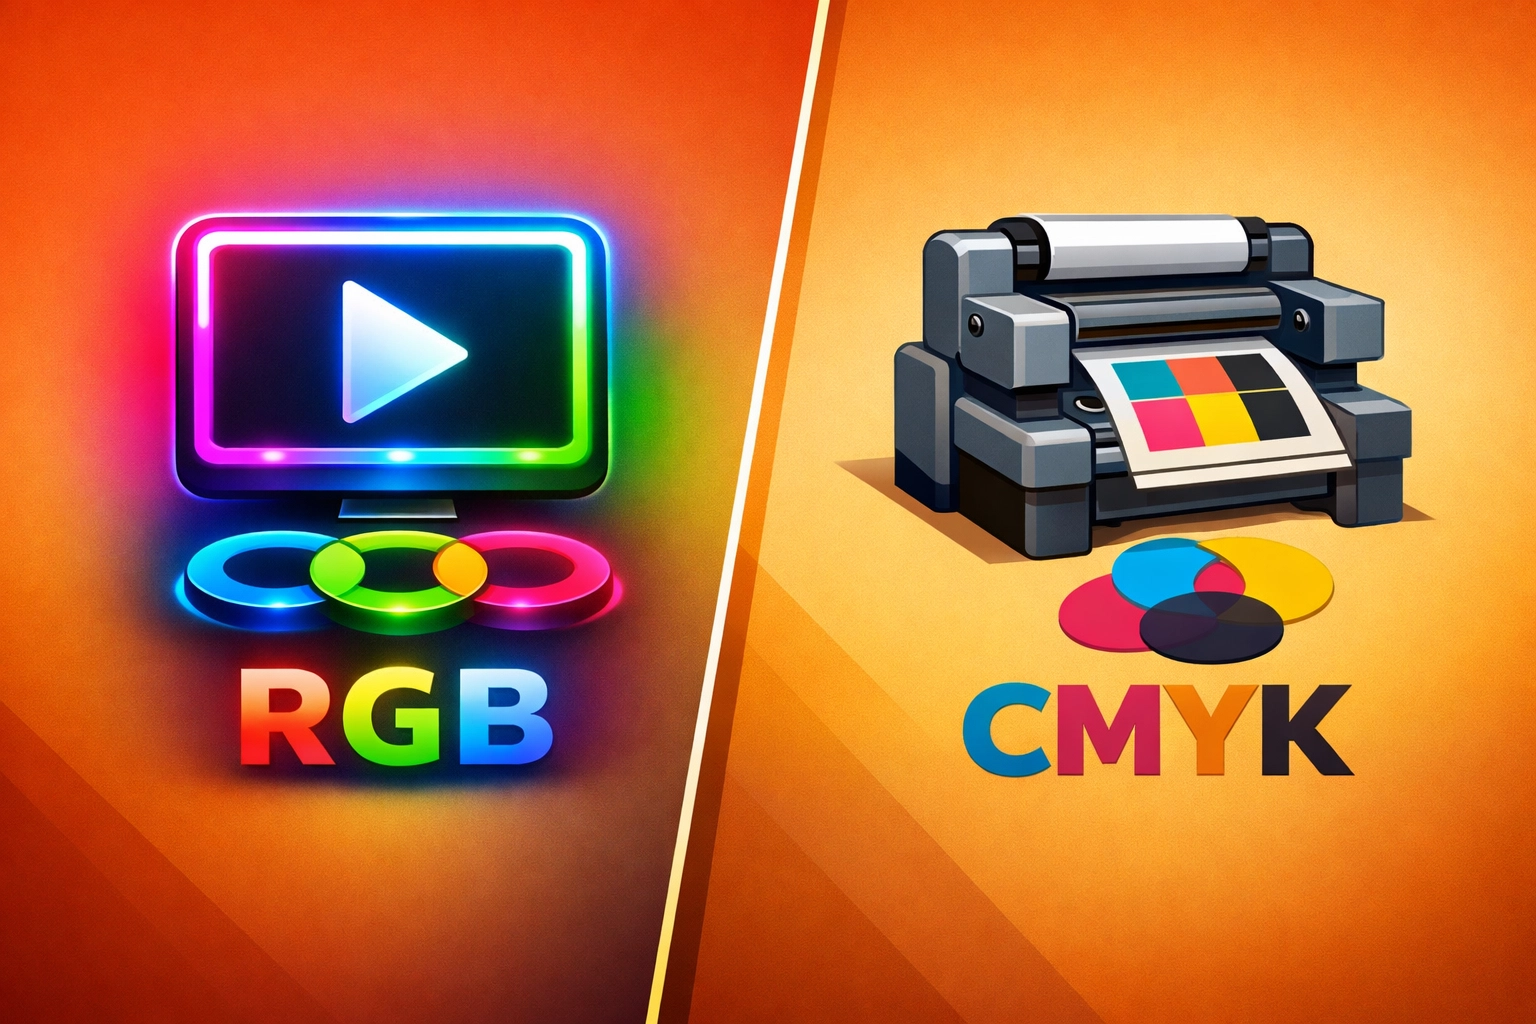
2. Color Space Configuration
Your document must use CMYK color mode for print. Period. RGB (Red, Green, Blue) is for screens. CMYK (Cyan, Magenta, Yellow, Black) is for ink on paper.
Access this setting in the Advanced Options when creating your document, or convert an existing document through File > Document Color Mode > CMYK Color. Colors shift when converting from RGB to CMYK because the color gamuts differ significantly. RGB produces colors that cannot be physically reproduced with printing inks.
Perform color conversions early in your design process. Waiting until final export creates surprises when vibrant RGB blues turn muddy in CMYK translation.
3. Resolution Settings
Configure two resolution parameters before beginning design work. First, set Raster Effects to 300 ppi through Effect > Document Raster Effects Settings. Second, verify that any placed raster images meet 300 dpi at their final printed size.
Vector graphics in Illustrator scale infinitely without quality loss, but raster effects like drop shadows, glows, and placed photographs depend on resolution settings. Insufficient resolution produces pixelated, unprofessional output.
Check placed image resolution by selecting the image and reviewing the Links panel information. An image placed at 150 dpi needs replacement or resizing before production.
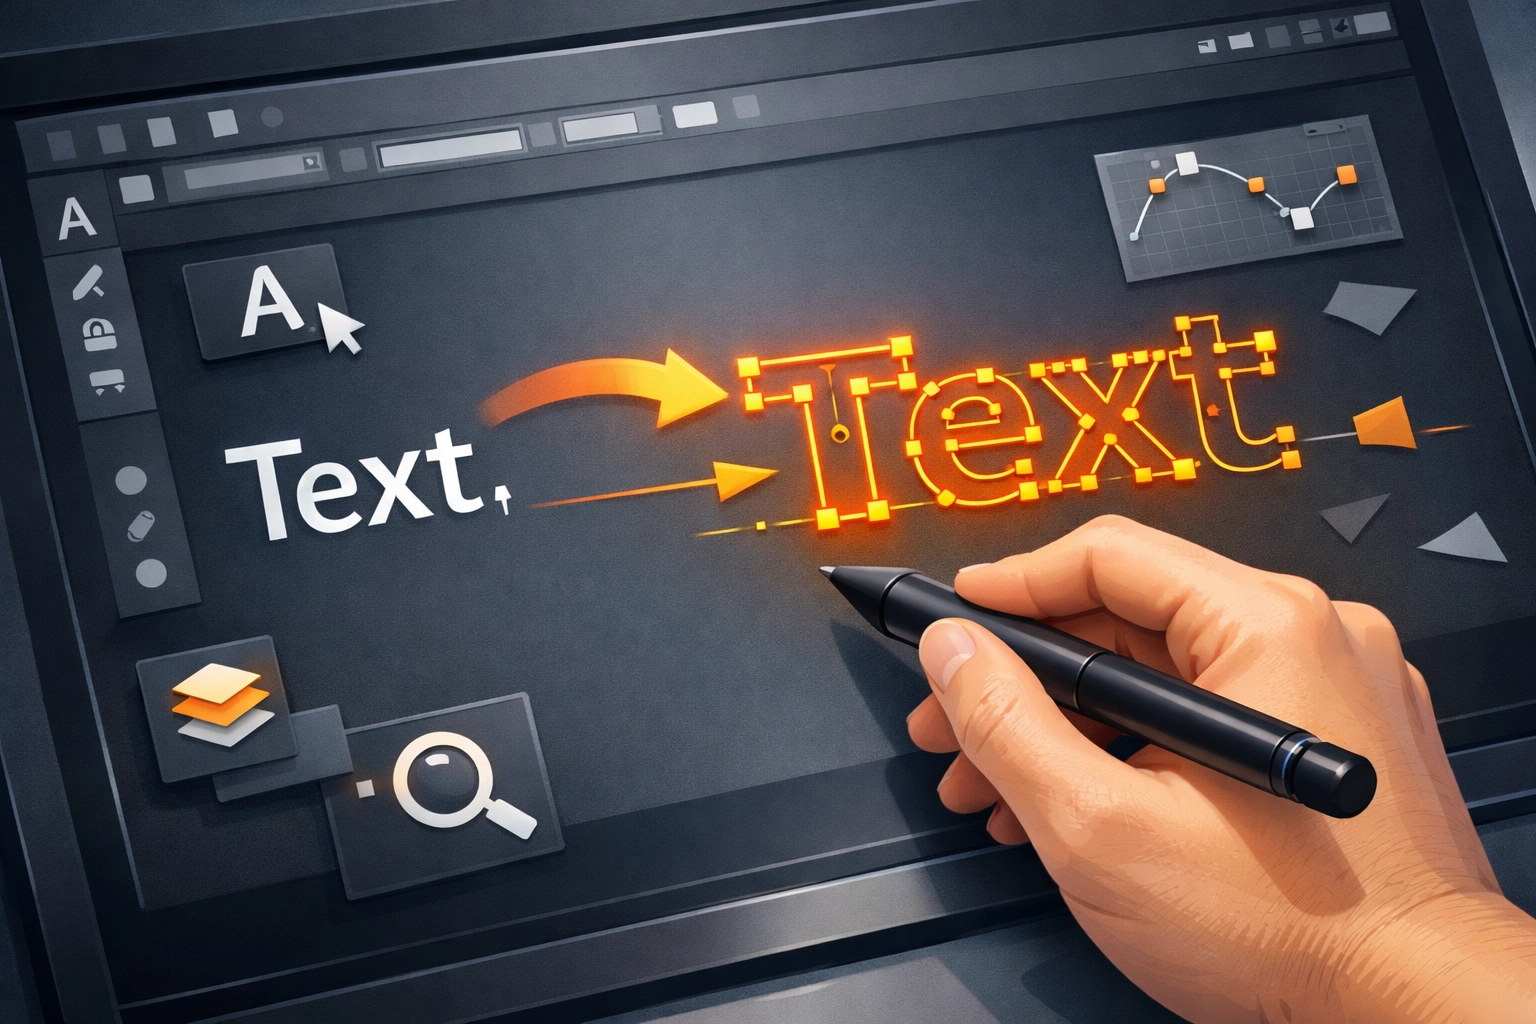
4. Text Outlining
Convert all text to outlines before sending files to print. Select your text and press Shift + Cmd + O (Mac) or Shift + Ctrl + O (Windows), or use Type > Create Outlines from the menu.
This workflow prevents font substitution problems. Printers rarely have your exact font library installed. When fonts are missing, software substitutes alternatives or fails to output the file entirely. Outlining converts letterforms to vector paths that display identically regardless of available fonts.
The tradeoff involves editability. Save a separate working file with live text before outlining. Once text becomes outlines, you cannot edit spelling or make text revisions without recreating the type from scratch.
5. Image and Vector Management
Prioritize vector artwork over raster images whenever possible. Logos, icons, and graphic elements should be vector-based paths rather than embedded photographs of vector art. Vectors maintain crispness at any scale and produce smaller file sizes.
When raster images are necessary, embed them properly or maintain linked file relationships. Use File > Place rather than copy-paste to insert images. The Links panel shows all placed images and alerts you to missing or modified files.
Compression matters for raster content. Avoid excessive compression that introduces artifacts. Balance file size against image quality based on the final printed size and viewing distance of your piece.
6. PDF Export with Print Settings
Export press-ready PDFs through File > Save As, selecting Adobe PDF as the format. Choose the PDF/X-1a:2001 or PDF/X-4:2008 preset for commercial printing. These presets enforce CMYK color, embed fonts, and configure other technical requirements automatically.
PDF/X standards exist specifically for reliable print production. They create self-contained files with all necessary resources embedded. This eliminates missing font and missing link errors that plague native Illustrator file submissions.
Verify your PDF settings in the export dialog. Compatibility should match your printer's specifications. Most commercial printers accept PDF 1.4 or higher without issues.
7. Printer's Marks and Bleed Configuration
Access the Marks and Bleeds section in your PDF export dialog. Enable All Printer's Marks and check Use Document Bleed Settings. Printer's marks include crop marks, registration marks, and color bars that assist production staff.
Crop marks indicate where to trim your document. Registration marks help align color separations on press. Color bars provide reference for ink density and color accuracy during press checks.
These marks print outside your bleed area in the margin space. Never place critical content in areas where printer's marks appear. Maintain a safe zone at least 0.25 inches inside your trim line for text and logos.
8. Layer Organization
Organize your Illustrator document with properly named layers before export. Production staff reviewing your file need to understand your document structure quickly. Generic names like "Layer 1" and "Layer 2" waste time and increase error potential.
Use the Layers panel to control which elements print. Some projects require separate files for different print processes. Organized layers allow selective output without file duplication.
Lock layers containing guides, templates, or reference material that should not print. This prevents accidental modification or inclusion in final output. Set non-printing layers to not print in the Layers panel options.
9. Template and Guide Implementation
Request printer-specific templates before beginning design work. Many commercial printers provide PDF or Illustrator templates with safe zones, bleed guides, and proper dimensions preconfigured.
Drag printer-provided PDF templates into your Illustrator document. Lock this template layer and design over it. Templates prevent common errors like incorrect dimensions or critical elements placed too close to trim edges.
Safe zones typically extend 0.25 inches inside the trim line. Text, logos, and important visual elements must remain within safe zones to avoid being cut during trimming. Background colors and images should extend into the bleed area.
10. File Format Selection for Delivery
Choose your delivery format based on printer requirements and revision likelihood. Three options exist: native Illustrator files (.ai), PDF files, or packaged files with links and fonts.
Native Illustrator files allow printer modifications but require font licensing considerations. Export PDF files when no changes are anticipated and you want guaranteed output consistency. Package files when supplying native Illustrator documents to include all linked images and font files through File > Package.
Communicate with your print provider before selecting a format. Some printers prefer PDF exclusively. Others accept native files for specific workflows. Following your printer's preferences eliminates unnecessary file conversion and potential quality loss.
Implementation Strategy
Master these workflows in order. Document setup and color space configuration come first because correcting these settings after design completion creates problems. Resolution, text outlining, and export settings apply at project completion.
Practice these workflows on non-critical projects before applying them to client work. Understanding why each workflow matters prevents shortcuts that seem acceptable until a print failure occurs.
Technical file preparation separates professional designers from amateurs. Implementing these workflows consistently produces reliable print results and maintains positive relationships with print service providers.
Works Cited
Adobe Inc. "Set Up Documents for Printing." Adobe Illustrator User Guide, 2024.
Clifford, A. "Prepare Illustrator Files for Professional Printing: A Complete Technical Guide." Print Production Quarterly, vol. 18, no. 3, 2023, pp. 45-52.
Graphic Arts Technical Foundation. "Color Management for Digital Printing." GATF Press, 2023.
International Color Consortium. "PDF/X Standards for Print Production." ICC Guidelines, 2024.
Smith, J., & Reynolds, M. "Resolution Requirements for Commercial Offset and Digital Printing." Journal of Print Technology, vol. 42, no. 2, 2023, pp. 112-125.
Recent Comments