
Prepress errors cost the printing industry millions annually. Misaligned color profiles, incorrect bleed settings, and undetected font issues can derail production schedules and damage client relationships. Adobe Acrobat Preflight offers a robust solution for automating quality control checks before files reach the press, but many print shops underutilize its capabilities due to incomplete setup processes.
This guide walks through the essential steps for implementing a comprehensive prepress automation system using Preflight profiles. The process requires initial investment in configuration but delivers consistent returns through reduced errors, faster turnaround times, and improved production reliability.
Understanding Preflight's Role in Modern Print Production
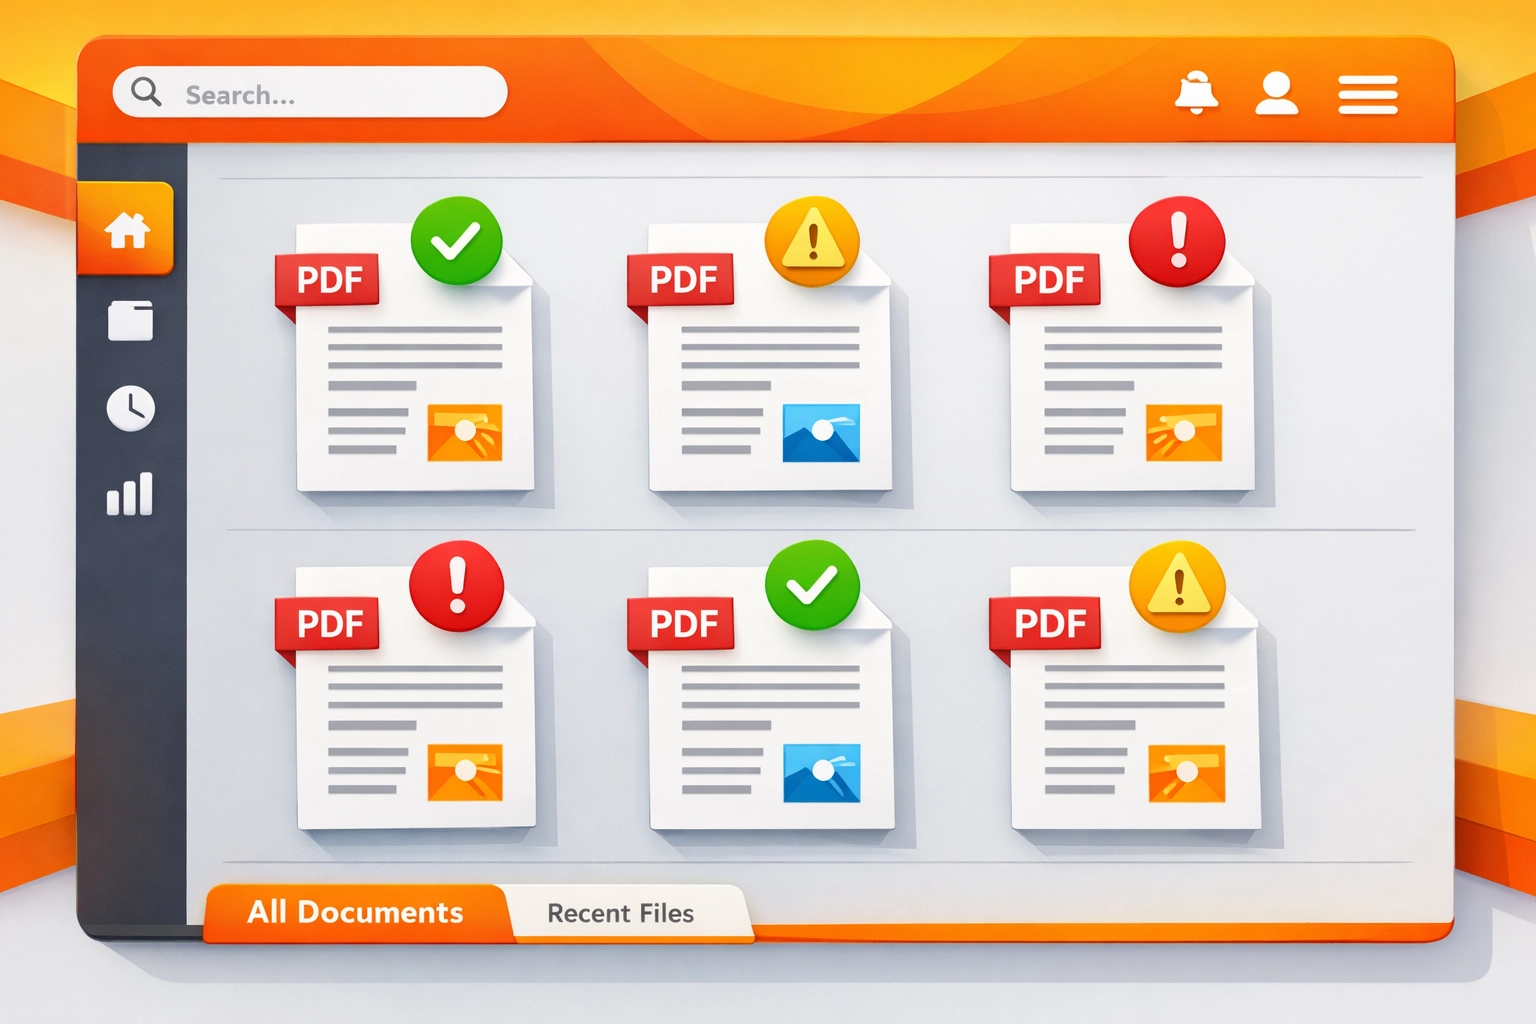
Adobe Acrobat Preflight functions as a digital quality control inspector. It scans PDF files against predefined standards, identifying potential production issues before they become costly mistakes. The tool checks for problems ranging from low-resolution images to incorrect color spaces, missing fonts, and non-compliant PDF specifications.
Production environments benefit most when Preflight operates as part of an automated workflow rather than a manual checkpoint. Proper setup transforms the tool from a reactive troubleshooting utility into a proactive quality assurance system. Files passing through automated Preflight checks arrive at the RIP or press with verified compliance to production standards.
The efficiency gains compound across high-volume operations. A shop processing fifty jobs daily saves substantial time by eliminating repetitive manual checks. More importantly, automated preflight reduces the cognitive load on prepress technicians, allowing them to focus on complex problem-solving rather than routine verification tasks.

Step 1: Access and Configure the Preflight Tool
Navigate to the Home view in Adobe Acrobat Pro DC. From the Suggested tools section, select All tools, then choose Use print production. The Use Print Production tools pane contains multiple utilities, but focus on the Preflight option for this setup process.
The Preflight dialog box opens to reveal a comprehensive interface. Take time to familiarize yourself with the layout before making configuration changes. The Libraries drop-down menu contains predefined profile collections organized by common production scenarios. These built-in profiles provide solid starting points but rarely match specific shop requirements without customization.
Examine the available profile categories carefully. Adobe organizes profiles by purpose: Digital printing standards, PDF/X compliance verification, and general document analysis represent common groupings. Understanding these categories helps inform decisions about which profiles warrant modification for your workflow.
Step 2: Create Custom Preflight Profiles
Generic profiles rarely address specific production requirements. Building custom profiles tailored to your equipment, substrates, and client specifications forms the foundation of effective prepress automation. Begin by selecting the Select Profiles button in the Preflight dialog box.
Choose Options followed by Create Profile to start from scratch. However, most production environments benefit from duplicating existing profiles and modifying relevant sections rather than building profiles completely from zero. This approach maintains logical organization while ensuring all necessary checks remain active.
When creating profiles, consider the entire production chain. A profile for offset printing requires different specifications than one designed for wide-format inkjet output. Color space requirements, resolution thresholds, and bleed settings vary significantly across production methods. Document these requirements clearly before beginning profile configuration to ensure comprehensive coverage.
Profile naming conventions matter more than they initially appear. Descriptive names like "Offset_CMYK_300dpi_0.125bleed" communicate specifications instantly, reducing confusion during rushed production periods. Avoid vague names like "Standard Profile" or "Client Work" that provide no actionable information.
Step 3: Organize Profiles into Logical Groups
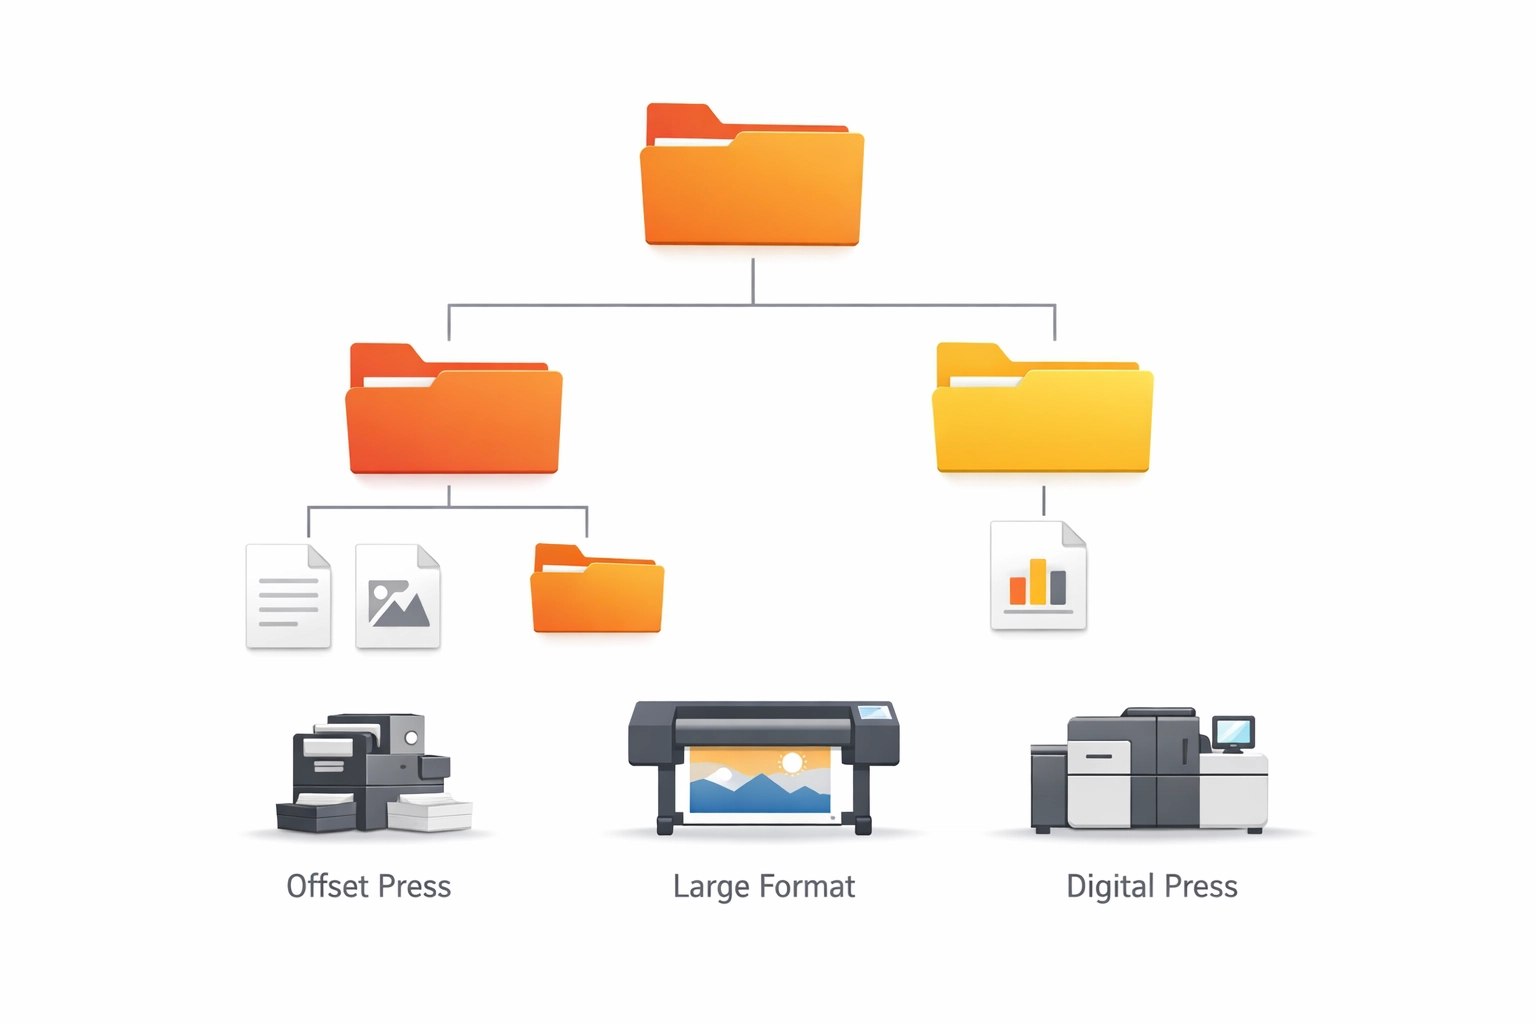
Production efficiency depends on quick access to appropriate tools. Organize Preflight profiles into groups that mirror your actual workflow divisions. Common groupings include categories like Digital Printing, Offset Production, Large Format, PDF/X Compliance, and Client-Specific Requirements.
Select Edit next to any profile to access grouping options. Choose New Group from the Group drop-down list and enter a descriptive name. This organizational structure becomes increasingly valuable as your profile library expands. A well-organized system allows technicians to locate correct profiles within seconds rather than scrolling through unstructured lists.
Consider creating separate groups for different production departments if your operation includes multiple specializations. A shop handling both commercial printing and large-format graphics benefits from clear separation between these workflow categories. Prepress technicians working primarily with one production type appreciate streamlined access to relevant profiles without visual clutter from unrelated options.
Hierarchical organization extends beyond simple grouping. Arrange profiles within groups by frequency of use or production priority. Position commonly used profiles at the top of each category for fastest access. This attention to workflow optimization compounds into significant time savings across hundreds of daily interactions with the Preflight interface.
Step 4: Configure and Lock Profile Settings
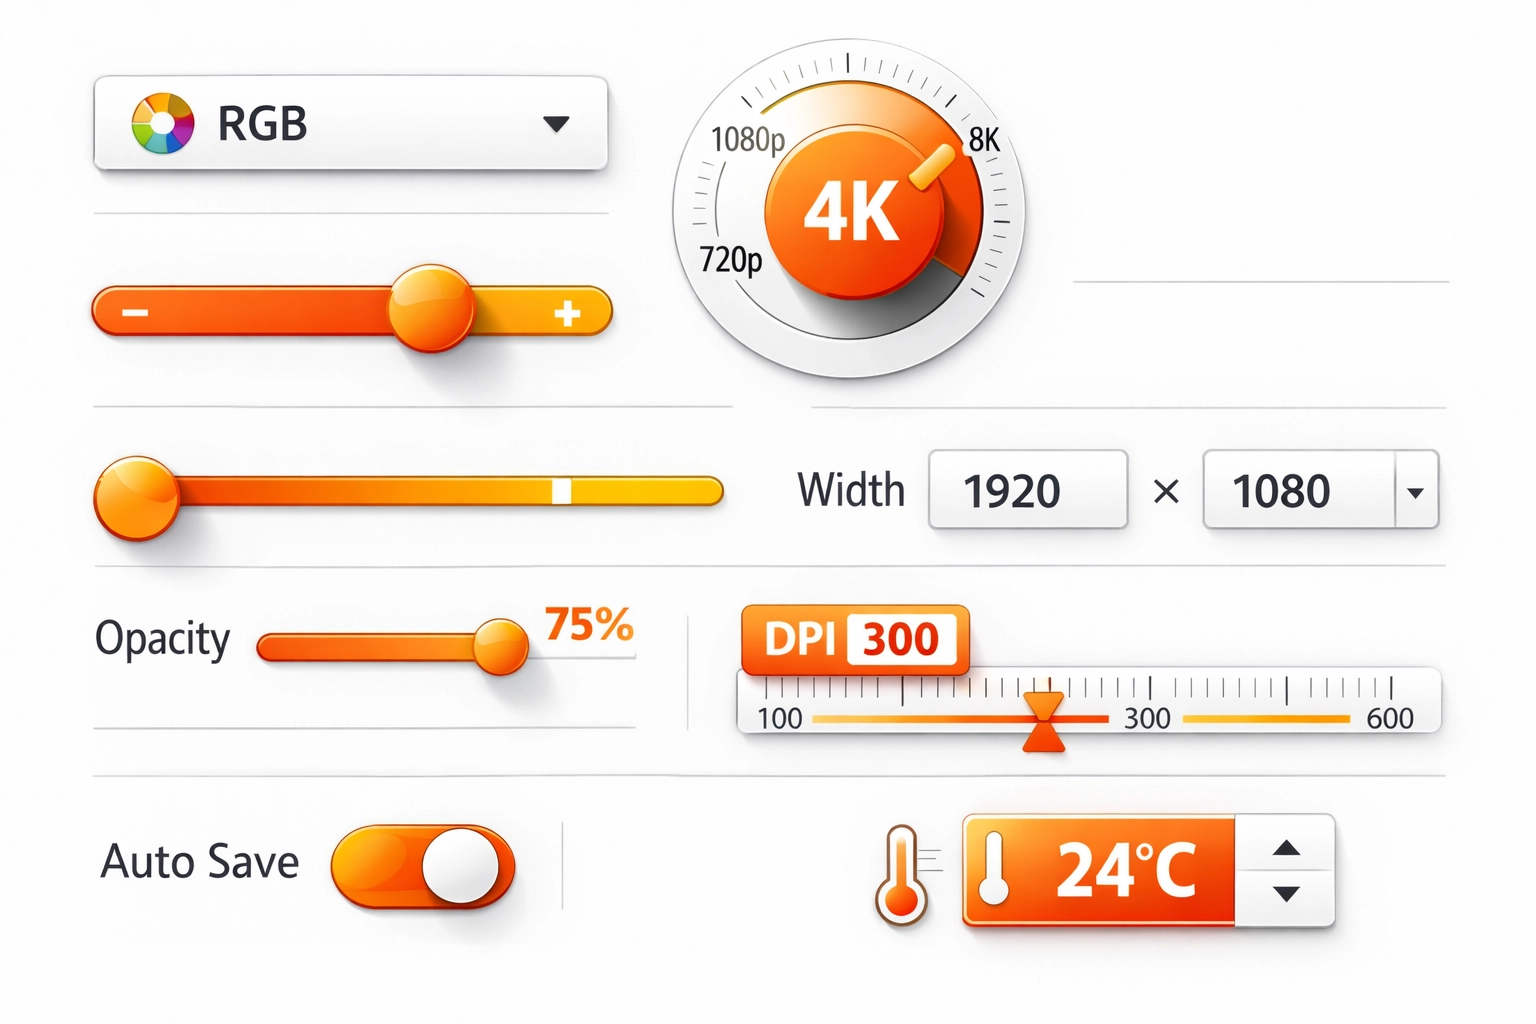
Profile configuration requires careful attention to technical specifications. Each setting in a Preflight profile serves specific quality control purposes. Resolution checks ensure images meet minimum requirements for the intended output device. Color space verification confirms files use appropriate color models for the production method. Bleed and trim settings validate that artwork extends properly beyond final cut lines.
Start with resolution parameters. Offset printing typically requires 300 dpi for color images and 1200 dpi for line art. Digital printing may accept slightly lower resolutions depending on the equipment. Configure minimum resolution thresholds that match your production standards, adding appropriate warnings or errors when files fall below specifications.
Color space configuration demands particular attention. CMYK files prepared for offset printing must remain in CMYK color space throughout the workflow. RGB images appearing in CMYK documents typically indicate oversight rather than intentional design choices. Configure profiles to flag these inconsistencies for correction before production begins.
Font handling represents another critical configuration area. Embedded fonts prevent substitution issues during RIP processing. Configure profiles to require font embedding and flag any text elements using non-embedded fonts. This simple check prevents numerous production headaches related to unexpected font replacements or missing characters.
Lock completed profiles to prevent accidental modifications. Select Locked from the pop-up menu in the Preflight Edit Profile dialog box. This protection becomes essential in multi-user environments where less experienced staff might inadvertently alter carefully calibrated settings. Locked profiles maintain consistency across shifts and personnel changes.
Step 5: Export and Distribute Standardized Profiles
Consistency across workstations ensures uniform quality control throughout the production facility. Export configured profiles for distribution to all prepress stations using the Options menu in the Preflight dialog box. Select Export Profile and specify a save location for the preflight package file, which carries a .kfp extension.
Network storage provides ideal distribution infrastructure for Preflight profiles. Save exported profiles to a shared network location accessible by all prepress workstations. This centralized approach simplifies updates, as modifications to master profiles can be redistributed quickly without visiting individual computers.
Document your profile specifications thoroughly. Create a reference guide explaining each profile's intended use, key specifications, and appropriate applications. This documentation proves invaluable during staff training and helps troubleshoot situations where files fail Preflight checks. Clear documentation reduces reliance on institutional knowledge and ensures consistent application of quality standards.
Schedule regular profile reviews to ensure specifications remain current with evolving production capabilities. Equipment upgrades, new substrate options, and changing industry standards may necessitate profile adjustments. Quarterly reviews maintain alignment between Preflight configurations and actual production requirements.
Integration with Broader Production Workflows
Preflight automation achieves maximum effectiveness when integrated into comprehensive production workflows. Many print shops combine Preflight with hot folder systems, automated job ticketing, and MIS integration for streamlined processing. Files dropping into monitored folders trigger automatic Preflight checks, with results routing files to appropriate production queues or returning them to designers for correction.
Adobe Acrobat supports Action Wizard functionality for advanced automation scenarios. Actions can combine Preflight checks with other processing steps like color conversion, page imposition, or metadata addition. This layered automation reduces manual intervention throughout the prepress phase.
Consider implementing tiered Preflight checks for different job types or client relationships. Rush jobs from established clients with proven file quality might bypass certain checks that remain mandatory for new customer submissions. This flexibility optimizes workflow efficiency without compromising quality standards where they matter most.
Measuring Automation Impact
Track key performance indicators to quantify automation benefits. Monitor metrics like average prepress processing time, error detection rates, and files requiring designer correction. Comparing pre-automation and post-automation data demonstrates return on investment and identifies areas for further optimization.
Error logs generated by Preflight provide valuable insights into recurring issues. Patterns in failure types might indicate training opportunities for design staff or reveal systematic problems in file creation workflows. Use this data proactively to address root causes rather than repeatedly correcting symptoms.
Production quality improvements often manifest as reduced press downtime, fewer reprints, and improved customer satisfaction scores. While these metrics connect less directly to Preflight automation than processing time measurements, they represent the ultimate value proposition for implementing comprehensive prepress quality control systems.
Works Cited
Adobe Inc. (2024). Preflight tool (Acrobat Pro). Adobe Help Center. https://helpx.adobe.com/acrobat/using/preflight-tool-acrobat-pro.html
International Digital Enterprise Alliance (IDEAlliance). (2023). PDF/X standards for graphic content exchange. IDEAlliance Technical Publications.
PRINTING United Alliance. (2024). Best practices in digital prepress workflows. PRINTING United Alliance Industry Resources.
Sharma, A. (2023). Print production essentials: Quality control in modern printing. Graphic Arts Technical Foundation Press.
Recent Comments