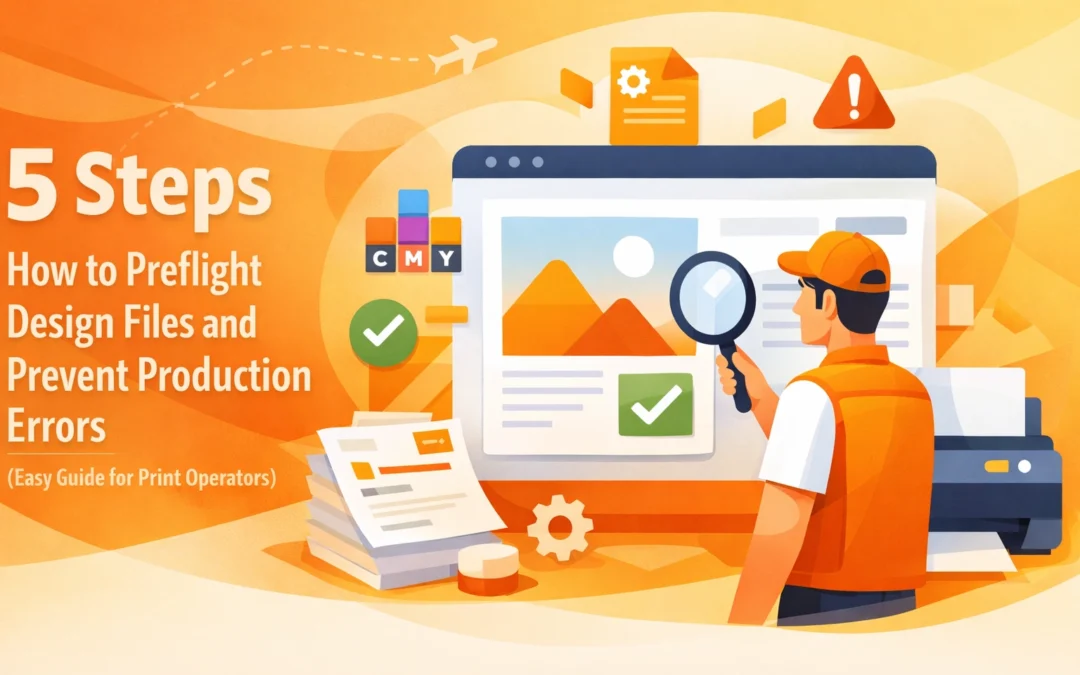
Preflighting is the essential quality control process that identifies technical issues in digital files before they reach the printing press or garment printer. For a print operator, this step acts as the final gatekeeper against costly reprints, wasted substrates, and missed deadlines. In the fast paced environment of Creative Design Hub (84G), ensuring every file is production ready is a requirement for maintaining high standards. Digital files often look perfect on a high resolution monitor, yet they can hide structural flaws that only reveal themselves during the RIP (Raster Image Processor) stage or when the physical ink hits the media.
This guide provides a systematic five step workflow to catch errors early. By following these steps, operators can bridge the gap between creative intent and mechanical reality.
Step 1: Verify Document Dimensions and Mechanical Setup
The first failure point in most print jobs is the physical size of the document. A print operator must confirm that the document setup matches the specific production requirements of the equipment being used. If a client submits a design intended for a standard 3.5 by 2 inch business card but provides a file sized at 4 by 6 inches, the resulting scale down will compromise legibility and line weights.
Beyond basic dimensions, the bleed and safety margins are critical. Most offset and digital presses require a minimum of 0.125 inches of bleed on all sides to account for mechanical shifts during the cutting process. Without this extra image area, the final product may show unsightly white slivers along the edges. Simultaneously, critical text and logos should be placed at least 0.25 inches away from the trim line. This safety zone ensures that no important information is lost during the finishing phase. You can view examples of properly formatted layouts in our projects section.
Step 2: Analyze Color Space and Image Resolution
Color management is where the most significant discrepancies occur between design and production. Most design software defaults to RGB because monitors display colors using light. However, print production relies on CMYK pigments or specialized spot colors like Pantone. An operator must verify that all elements have been converted to the appropriate color space for the specific output device.

When files remain in RGB, the RIP software must perform an automated conversion. This often leads to duller colors or unexpected shifts, especially in vibrant blues and greens. Furthermore, operators should check for the "Rich Black" setting. For large areas of black ink, using 100 percent K often results in a washed out grey. A common rich black formula for many printers is 60C, 40M, 40Y, and 100K.
Image resolution is the second half of this technical check. For high quality lithographic or digital print, all raster images must be 300 DPI at their final size. If an image is 300 DPI at two inches but is scaled up to ten inches in the layout, the effective resolution drops to 60 DPI. This results in pixelation and soft edges. For large format banners, 150 DPI is often sufficient, but any lower will degrade the professional appearance of the work.
Step 3: Audit Fonts and Linked Assets
Missing fonts and broken links are the classic enemies of the prepress department. When a designer uses a specialized font but fails to embed it, the print software will substitute it with a generic font like Courier or Myriad Pro. This completely alters the design and can cause text reflow issues that hide entire sentences.
Operators should check that all fonts are either embedded in the PDF or converted to outlines. Converting to outlines is particularly useful for logos and short headlines, as it transforms the text into vector shapes that no longer require a font file. However, this makes the text uneditable, so it should be the final step before export.
Linked assets must also be accounted for. In programs like Adobe InDesign or Affinity Publisher, images are often linked rather than embedded to keep file sizes manageable. If the designer does not "Package" the file, those high resolution images will be missing when the operator opens the document. Always ensure that a complete folder containing the layout, all fonts, and all linked graphics is provided. For more information on how we handle these technical requirements, visit our info page.
Step 4: Utilize Automated Preflight Software Tools
While manual inspection is necessary, automated tools can scan for thousands of potential errors in seconds. Adobe InDesign features a built in Preflight panel located under Window > Output > Preflight. This tool allows operators to create custom profiles that flag specific issues, such as hairlines thinner than 0.25 points or the presence of transparency in areas where it might cause "stitching" errors during the RIP process.

For PDF workflows, Adobe Acrobat Pro DC offers a robust "Print Production" toolset. The "Preflight" function in Acrobat can automatically fix common issues, such as converting hairlines to printable widths or flattening transparency using high resolution presets. Professional shops often invest in third party software like Enfocus PitStop Pro, which provides even deeper levels of automation and can fix complex PDF errors that standard design software cannot. These tools provide a report that can be sent back to the client or designer, clearly outlining what needs to be changed before the file can move to production.
Step 5: Final Human Review and Client Communication
The final step is the human sanity check. Automation might not catch a typo in a phone number or a photo that is technically high resolution but aesthetically blurry. The print operator should perform a visual "soft proof" on a calibrated monitor to check for transparency issues, overprint settings, and correct orientation.
If errors are found, communication is vital. Rather than simply fixing the file, which can lead to liability issues if the fix creates a new error, the operator should provide a clear report to the designer. This feedback loop improves the quality of future submissions and ensures the client remains responsible for the integrity of their content. For common questions regarding file submission standards, our FAQ page serves as a helpful resource for clients.
Technical Workflow: DTG vs DTF File Preparation
In the context of modern garment decoration, preflighting takes on additional technical layers. It is important to distinguish between Direct to Garment (DTG) and Direct to Film (DTF) requirements.
DTG printing generally requires a high resolution transparent PNG or a vector file. The operator must ensure there are no stray pixels or "soft" edges in transparent areas, as the RIP software will interpret these as semi transparent white underbase, resulting in a white haze around the design.
DTF printing, conversely, often requires the file to be mirrored during the RIP process because the image is printed onto a film and then heat pressed onto the garment. Additionally, DTF requires a very dense white ink layer. During preflight, the operator must verify that the "Spot White" channel is correctly defined if the RIP does not handle it automatically. Unlike traditional paper printing, garment printing involves flexible substrates, meaning line weights must be slightly thicker to remain visible after the ink settles into the fabric fibers.

Conclusion
Preflighting is more than a technical hurdle; it is a foundational aspect of professional graphic design and print production. By verifying dimensions, auditing color and resolution, securing fonts, utilizing automation, and maintaining clear communication, print operators at Creative Design Hub (84G) ensure every project is executed with precision. Taking the time to perform these checks saves thousands of dollars in material costs and preserves the professional reputation of both the designer and the print house.
Works Cited
Adobe Systems. "Preflight Files Before Publishing in InDesign." Adobe Help Center, 2024, helpx.adobe.com/indesign/using/preflighting-files-before-publishing.html.
Agfa-Gevaert Group. "The Importance of Prepress Workflow Automation." Agfa Graphics White Paper, 2023.
Enfocus. "What is Preflighting? A Guide for Print Professionals." Enfocus Knowledge Base, 2025.
Printing United Alliance. "Digital Print File Preparation Standards for Wide Format and Garment Production." Journal of Print Technology, vol. 12, no. 2, 2024, pp. 45-58.
Teschner, Helmut. Printing Technology: A Guide to Print Production and Graphic Arts. 5th ed., Delmar Cengage Learning, 2022.
Recent Comments